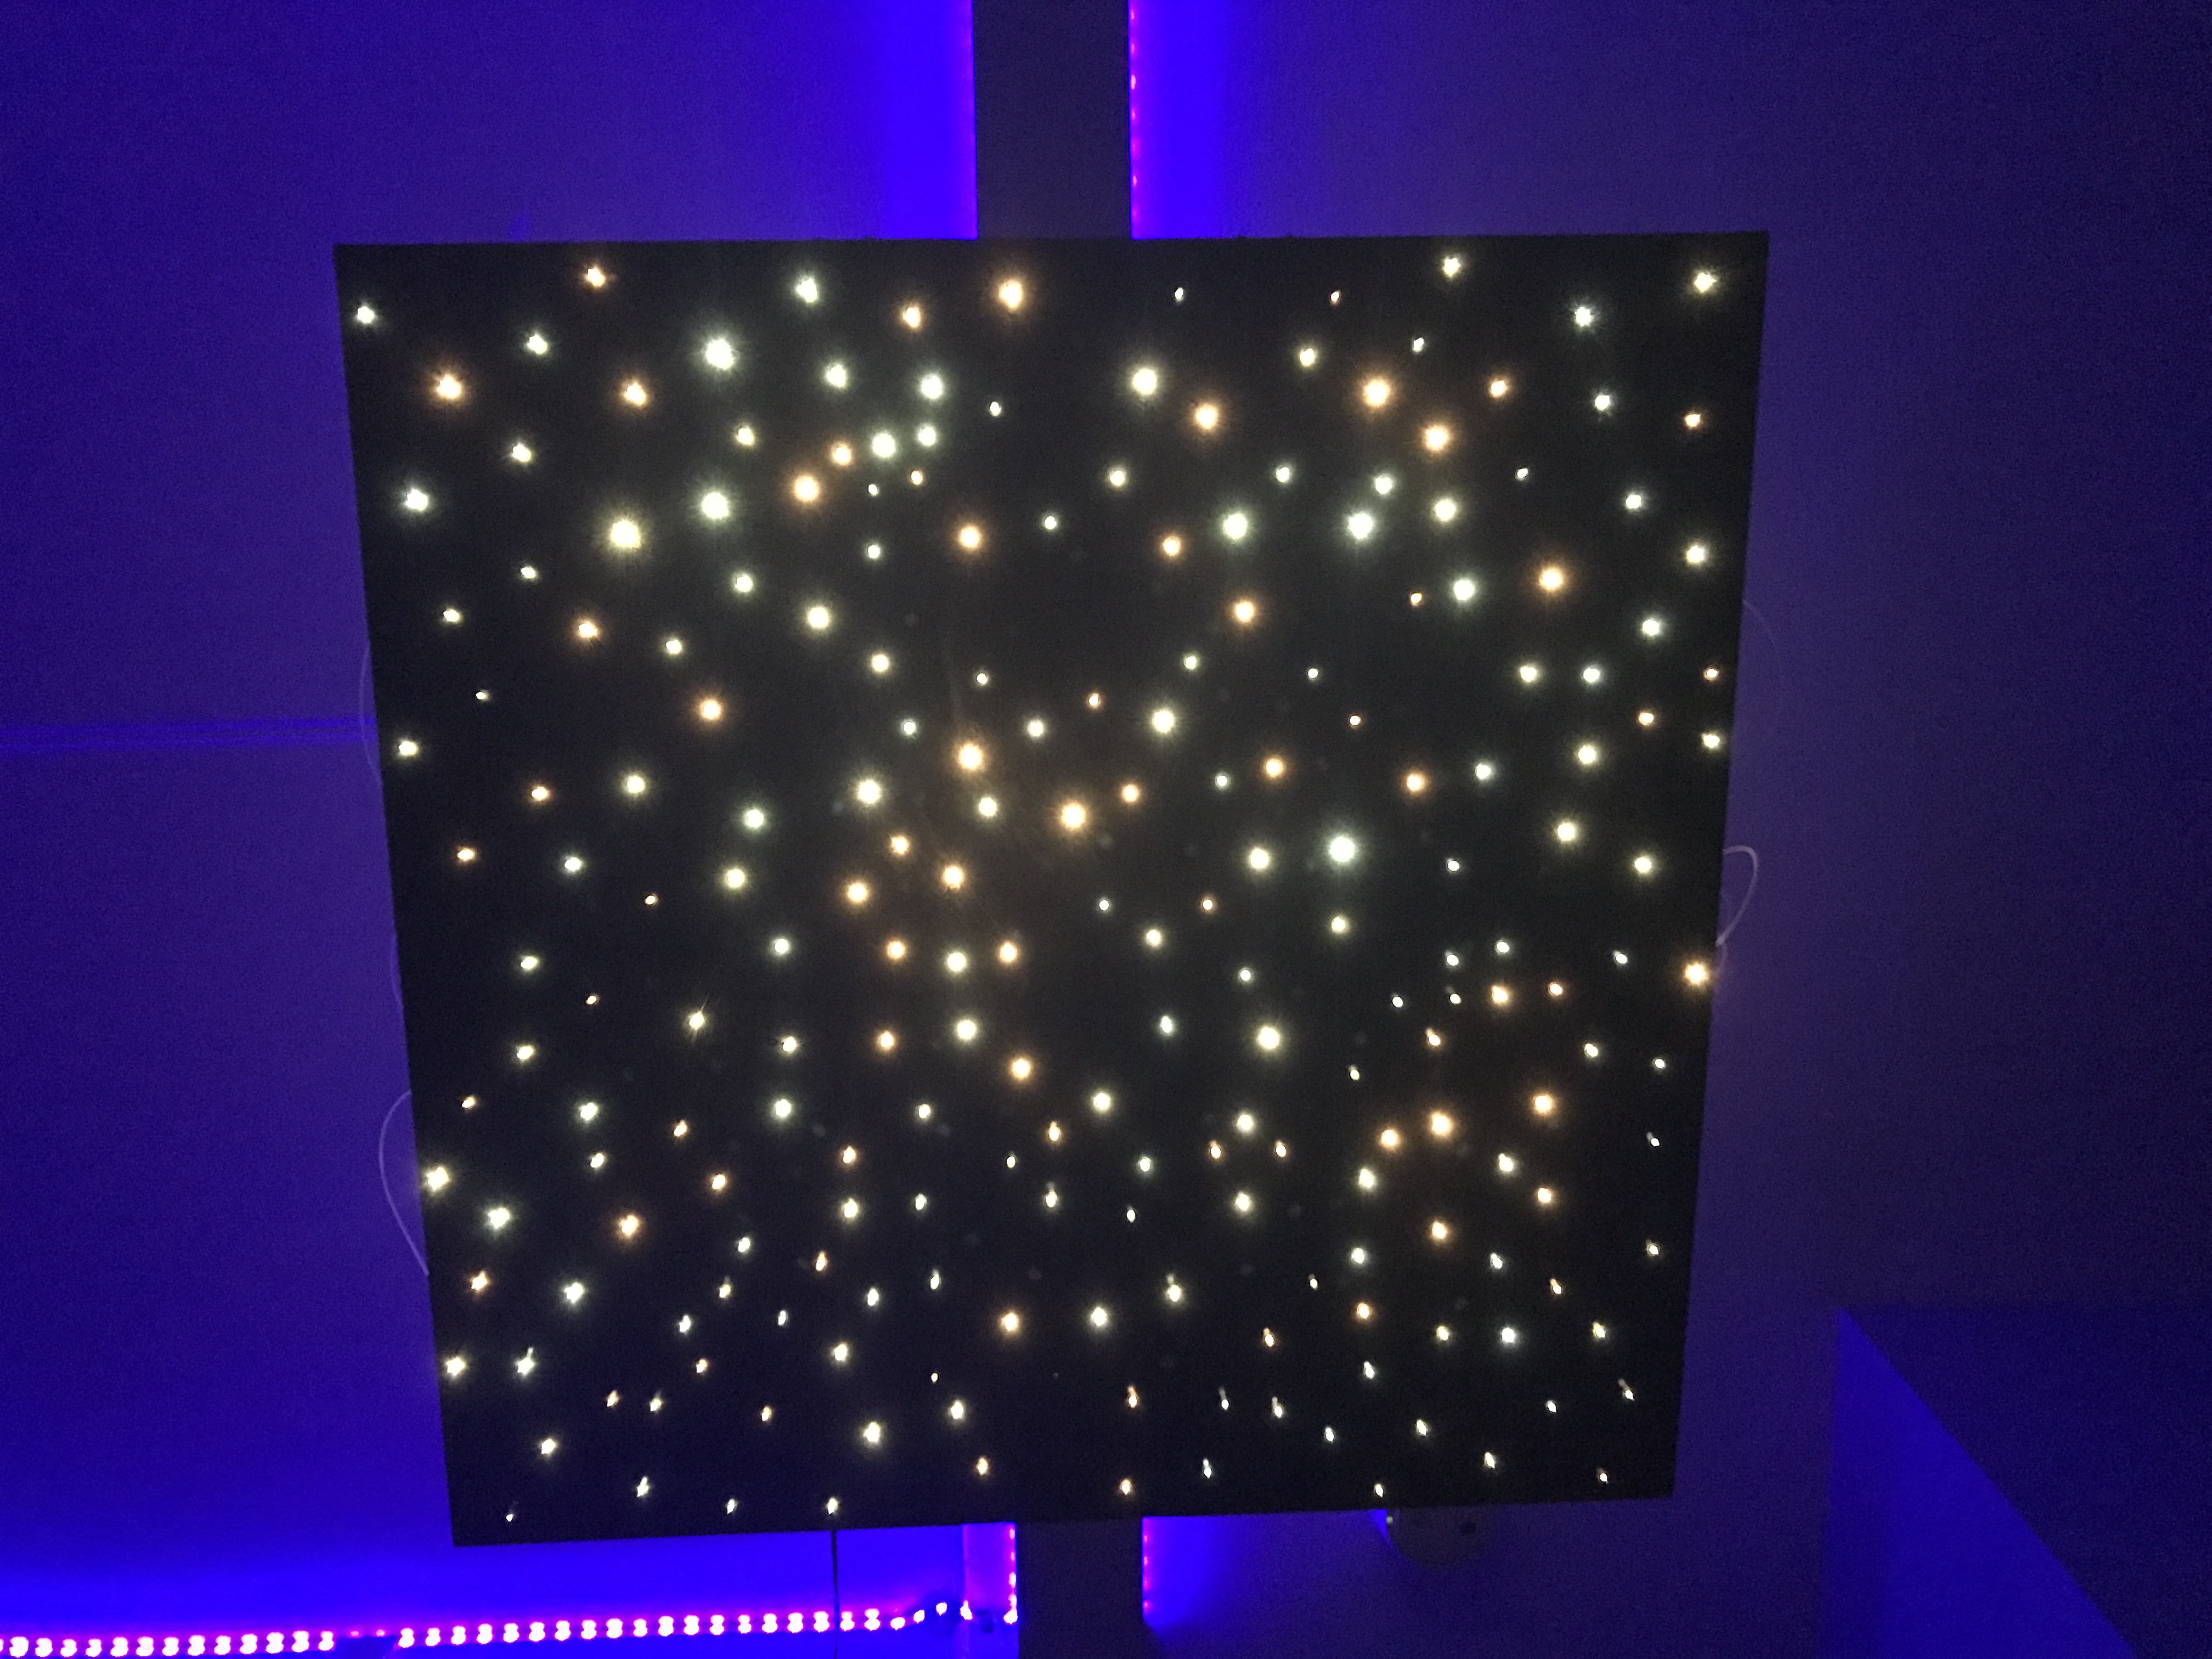
This is one of my favorite projects ever because it came out pretty much exactly as I was hoping it would which almost never seems to happen.
What is a star ceiling? The concept is simple. Drill a bunch of holes in a black ceiling, stick some fiber optic cables through the holes, illuminate the fiber optic cables from the other end. Boom. Instant stars.
Instant is probably a bit of an understatement though, the actual project took around a semester. I did it through an amazing student led program at MIT called projx which gives students up to $500 to create something cool. I gladly took this money and ran to Home Depot and the internet to go buy some pieces particle board, fiber optic cable, and electronics.
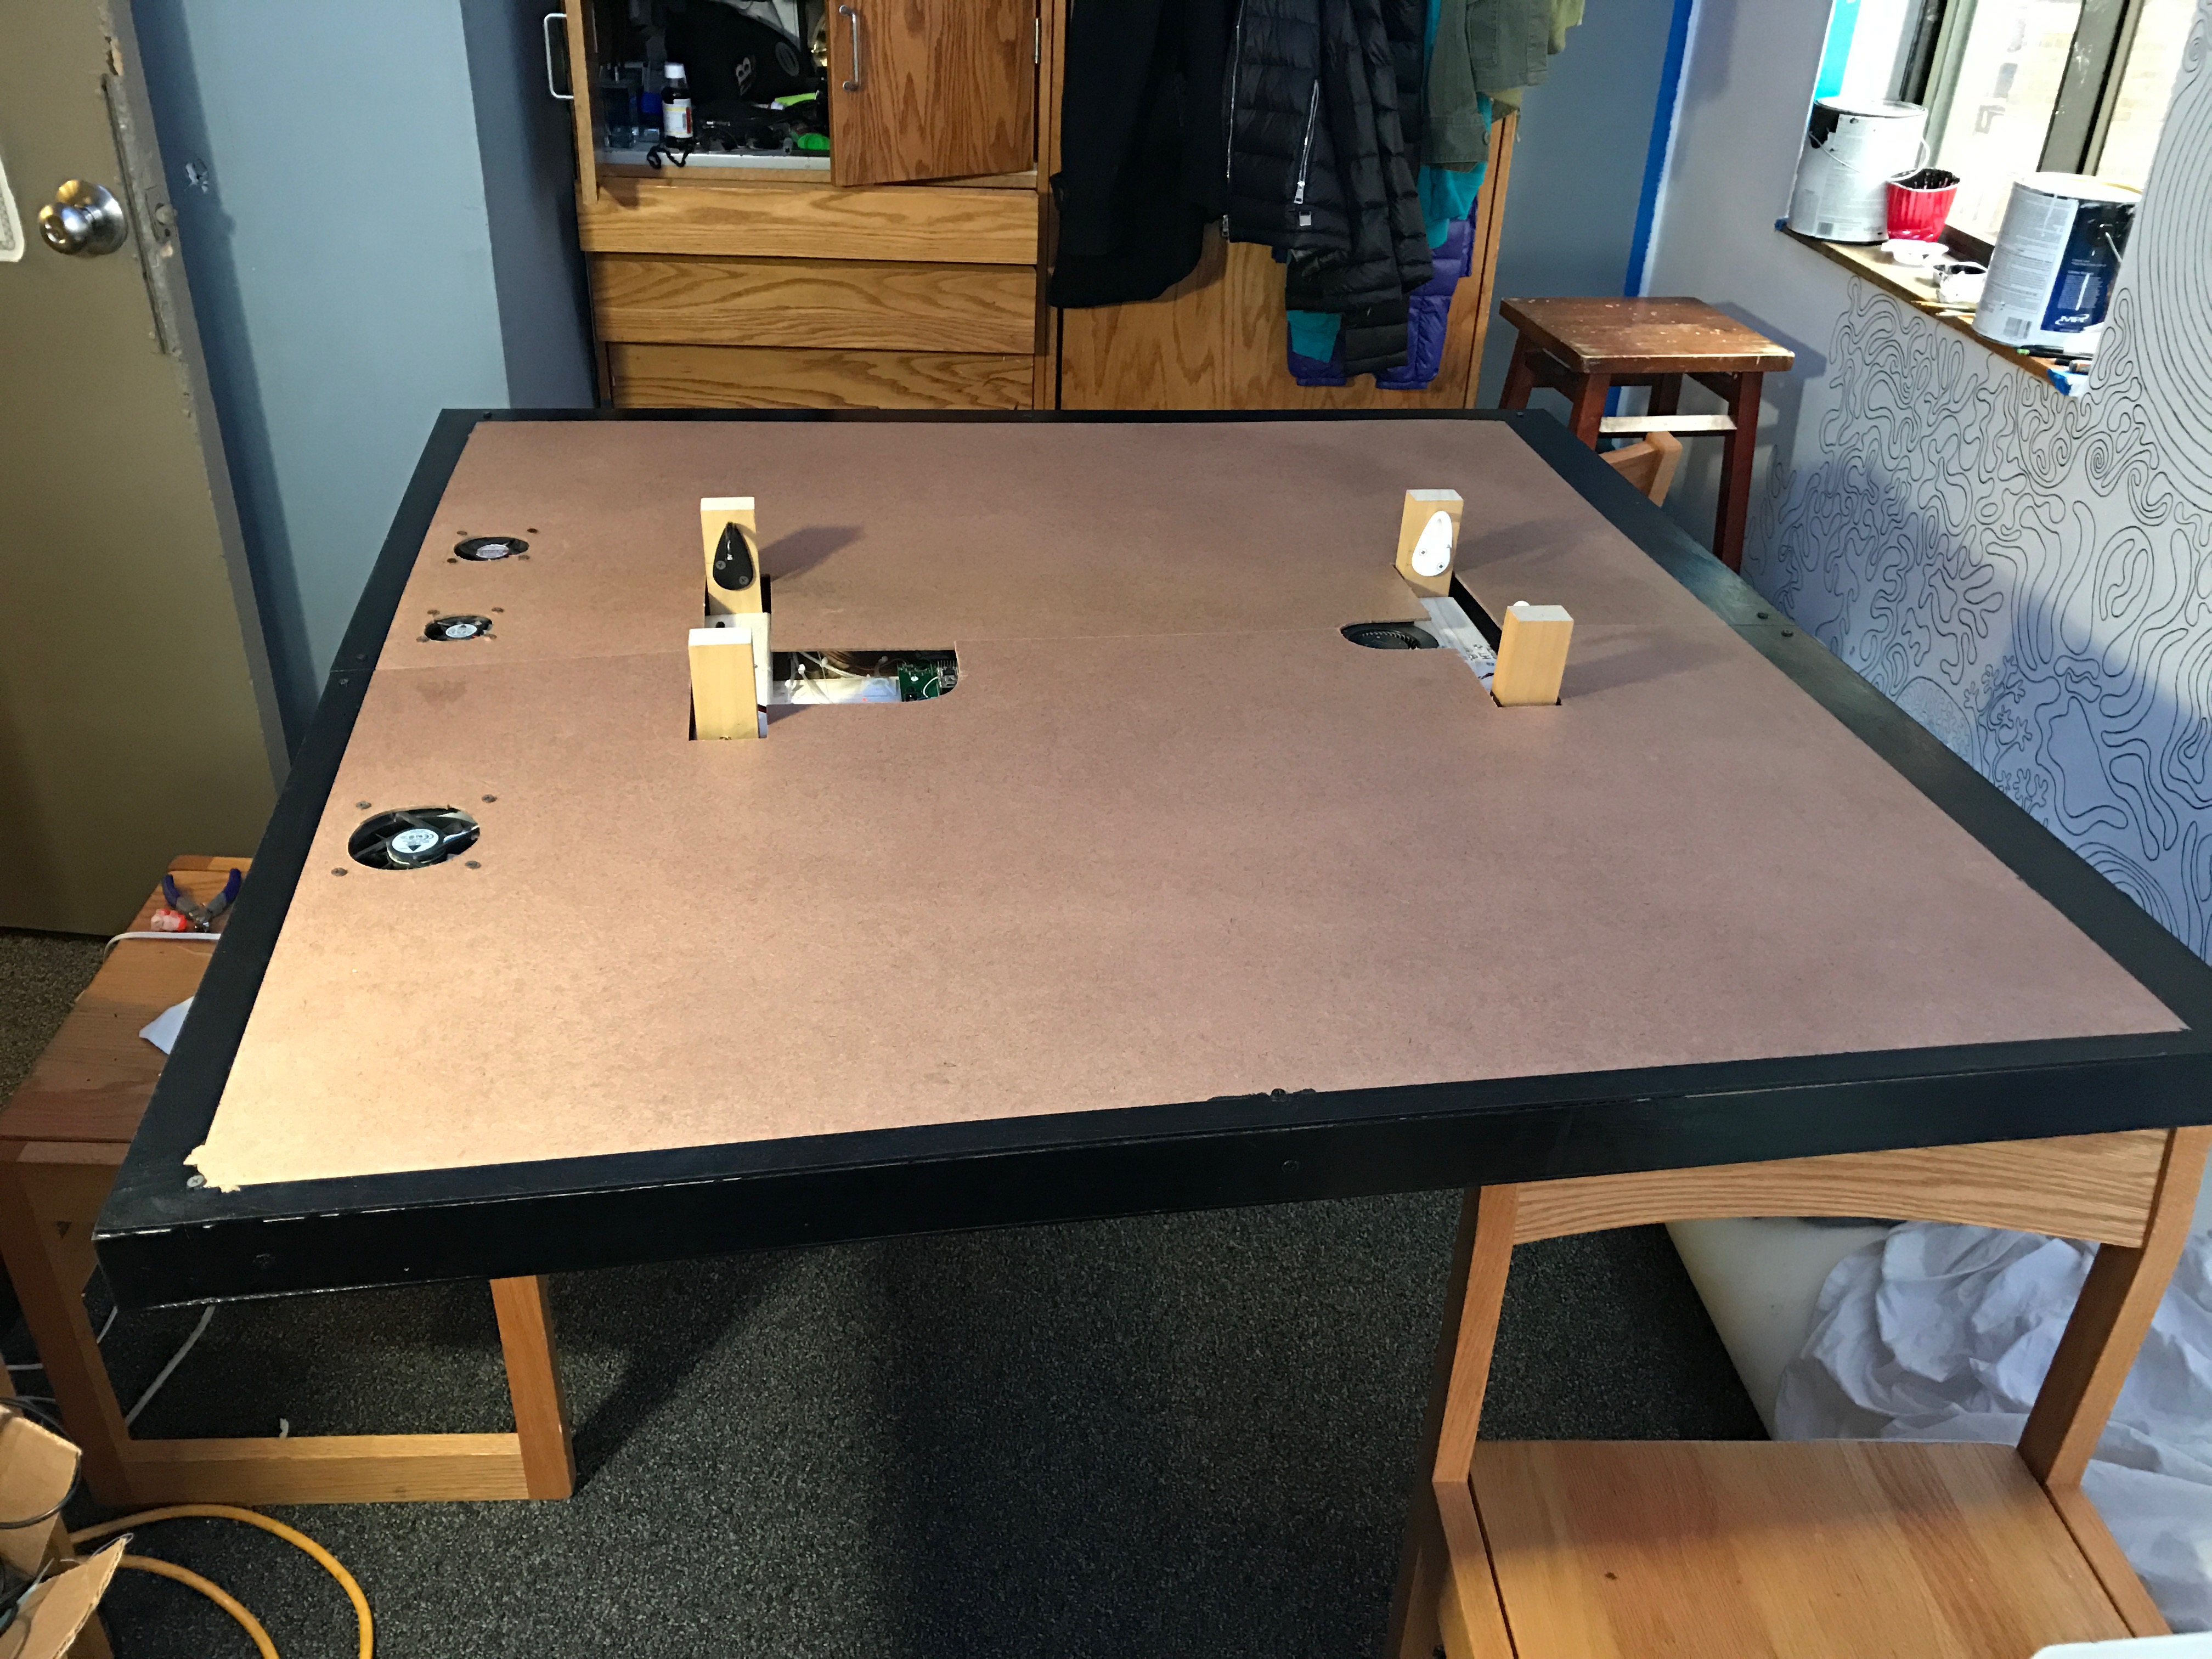
The first step in the project was assembling the ceiling structure. Because I couldn’t access the top of my real ceiling, I had to build a false ceiling that would attach to a beam in my room. At this point I also drilled a bunch of tiny holes in the particle board for the fibers to pass through. I arranged them mostly randomly but tried to add a few fake constellations for fun. There are also three different controllable zones to enable some wave like effects so I tried to distribute the stars evenly in the zones.
After this it was time for paint.

After painting I added the hooks needed to hold the star ceiling to the beam on the real ceiling. I got some inspiration for this design walking around the aisles of home depot where I found some coat hooks and cabinet handles that looked like they belonged together.
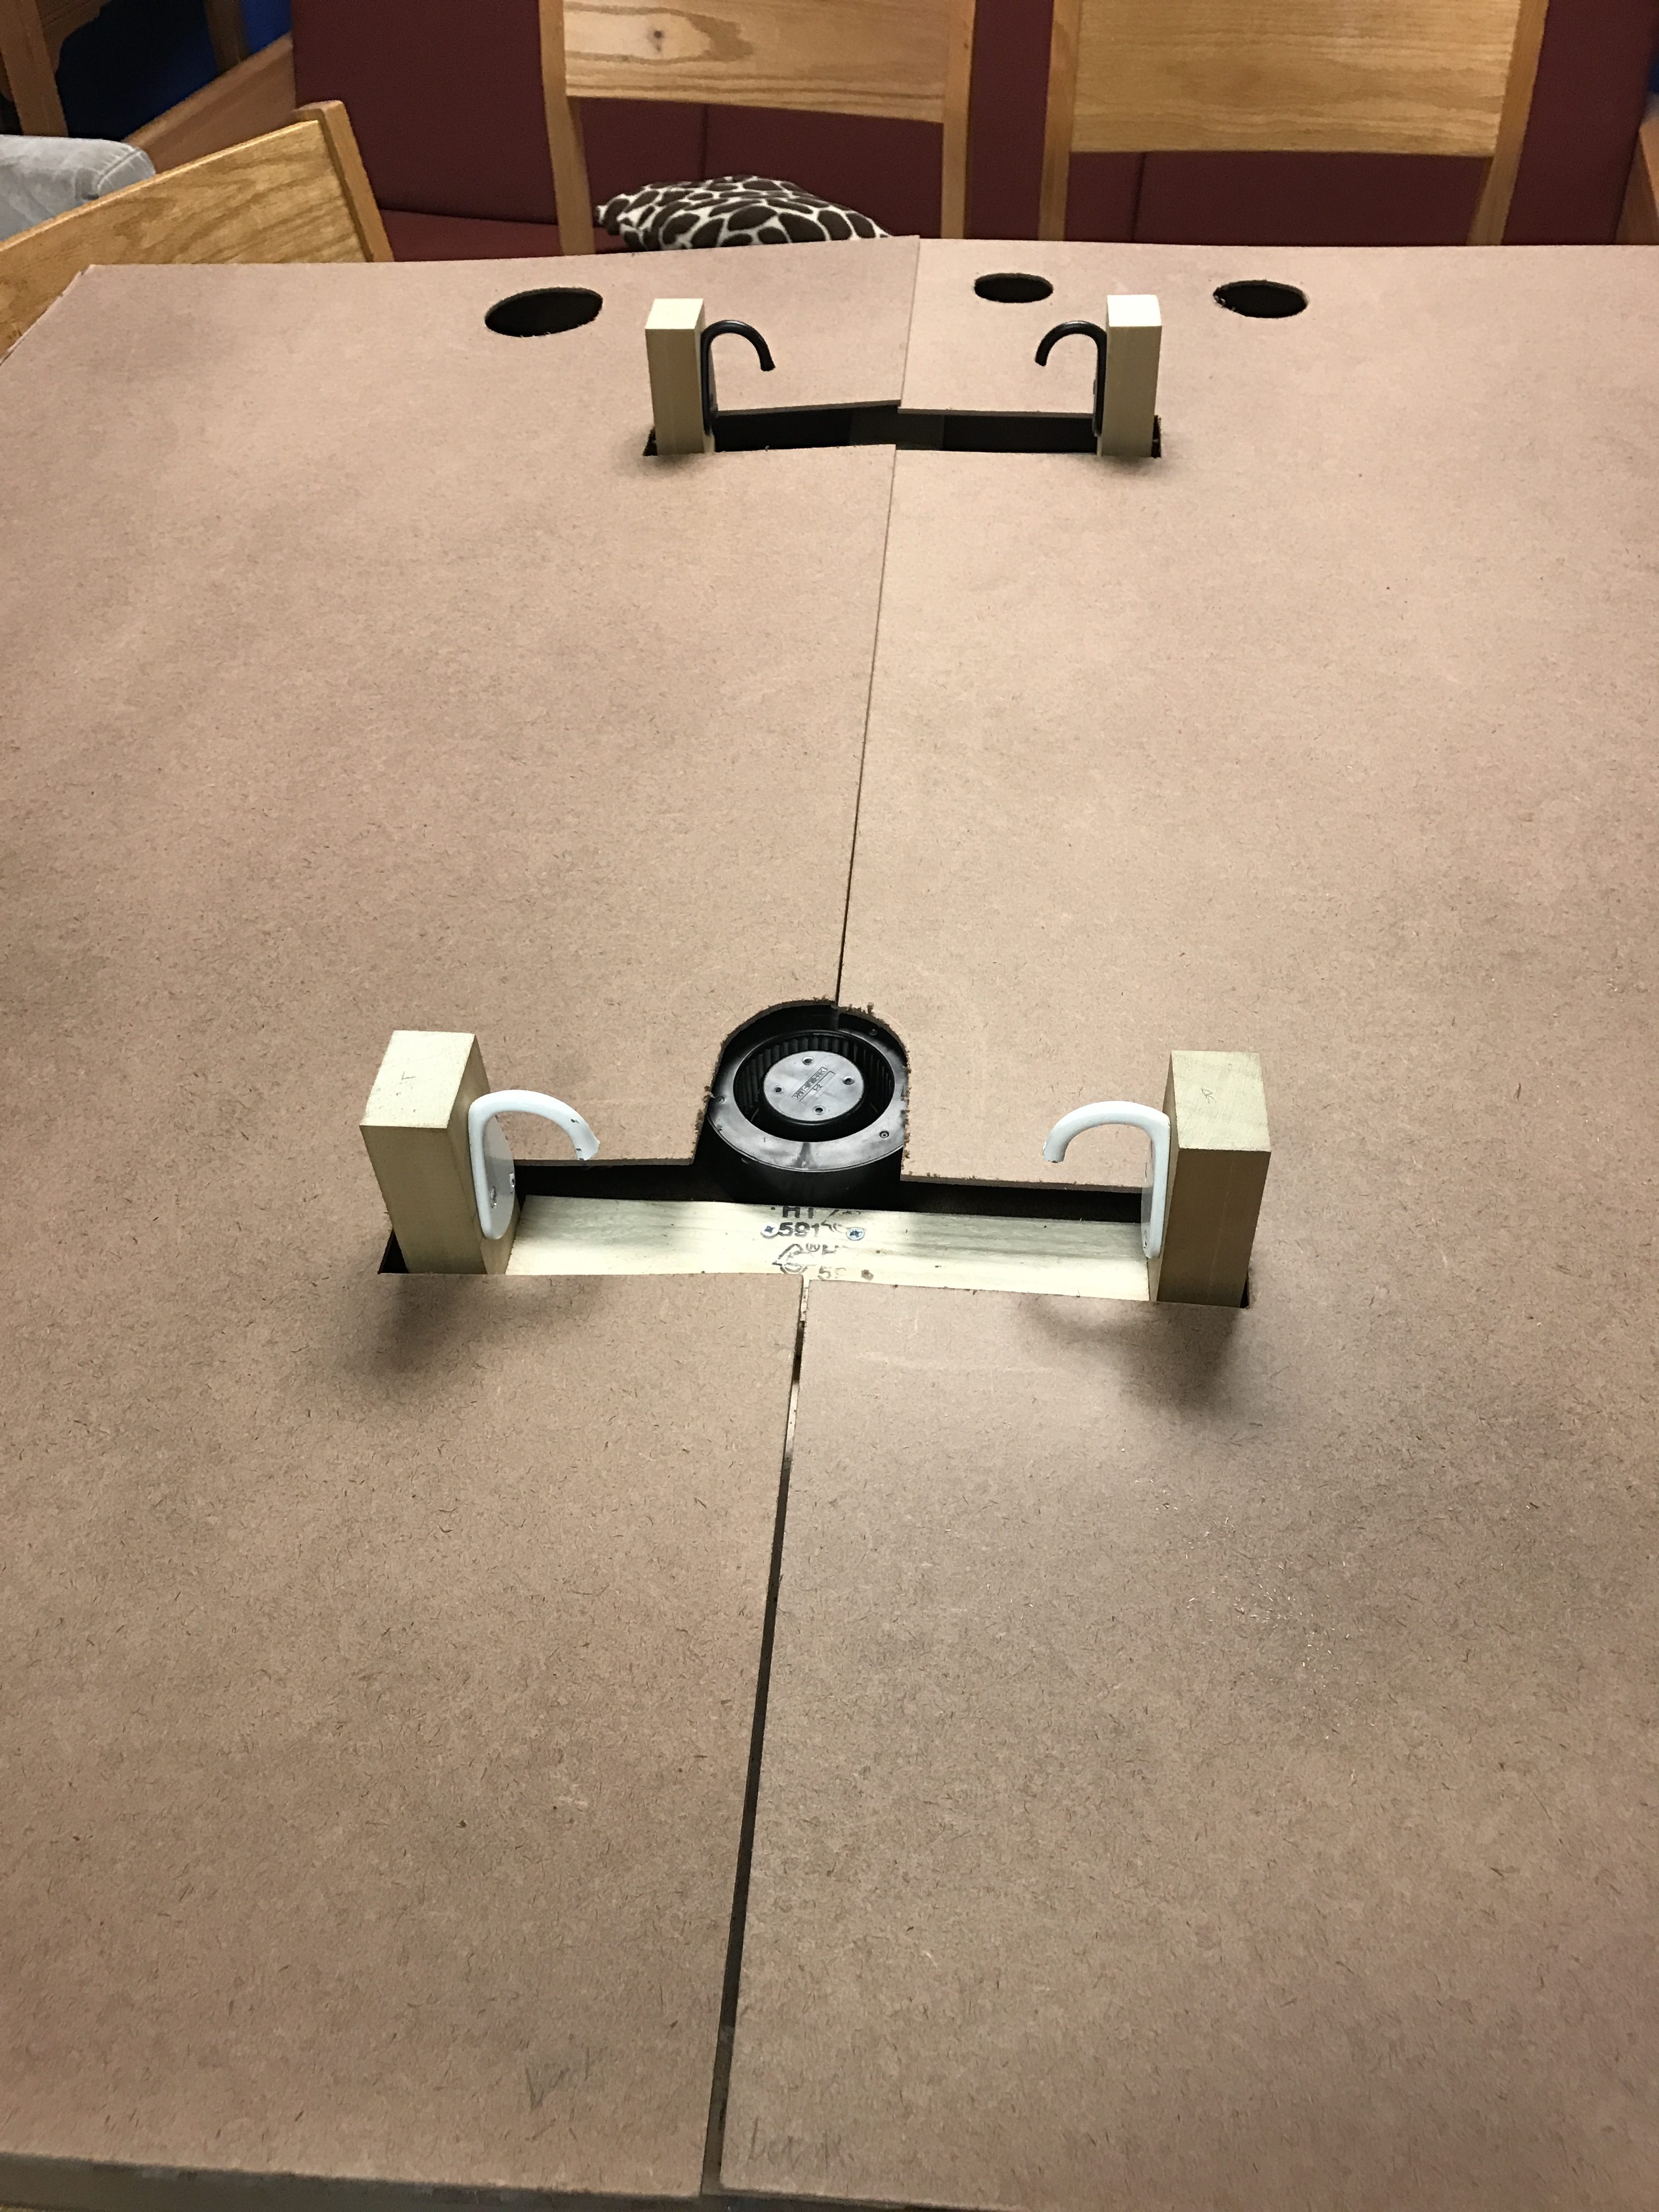
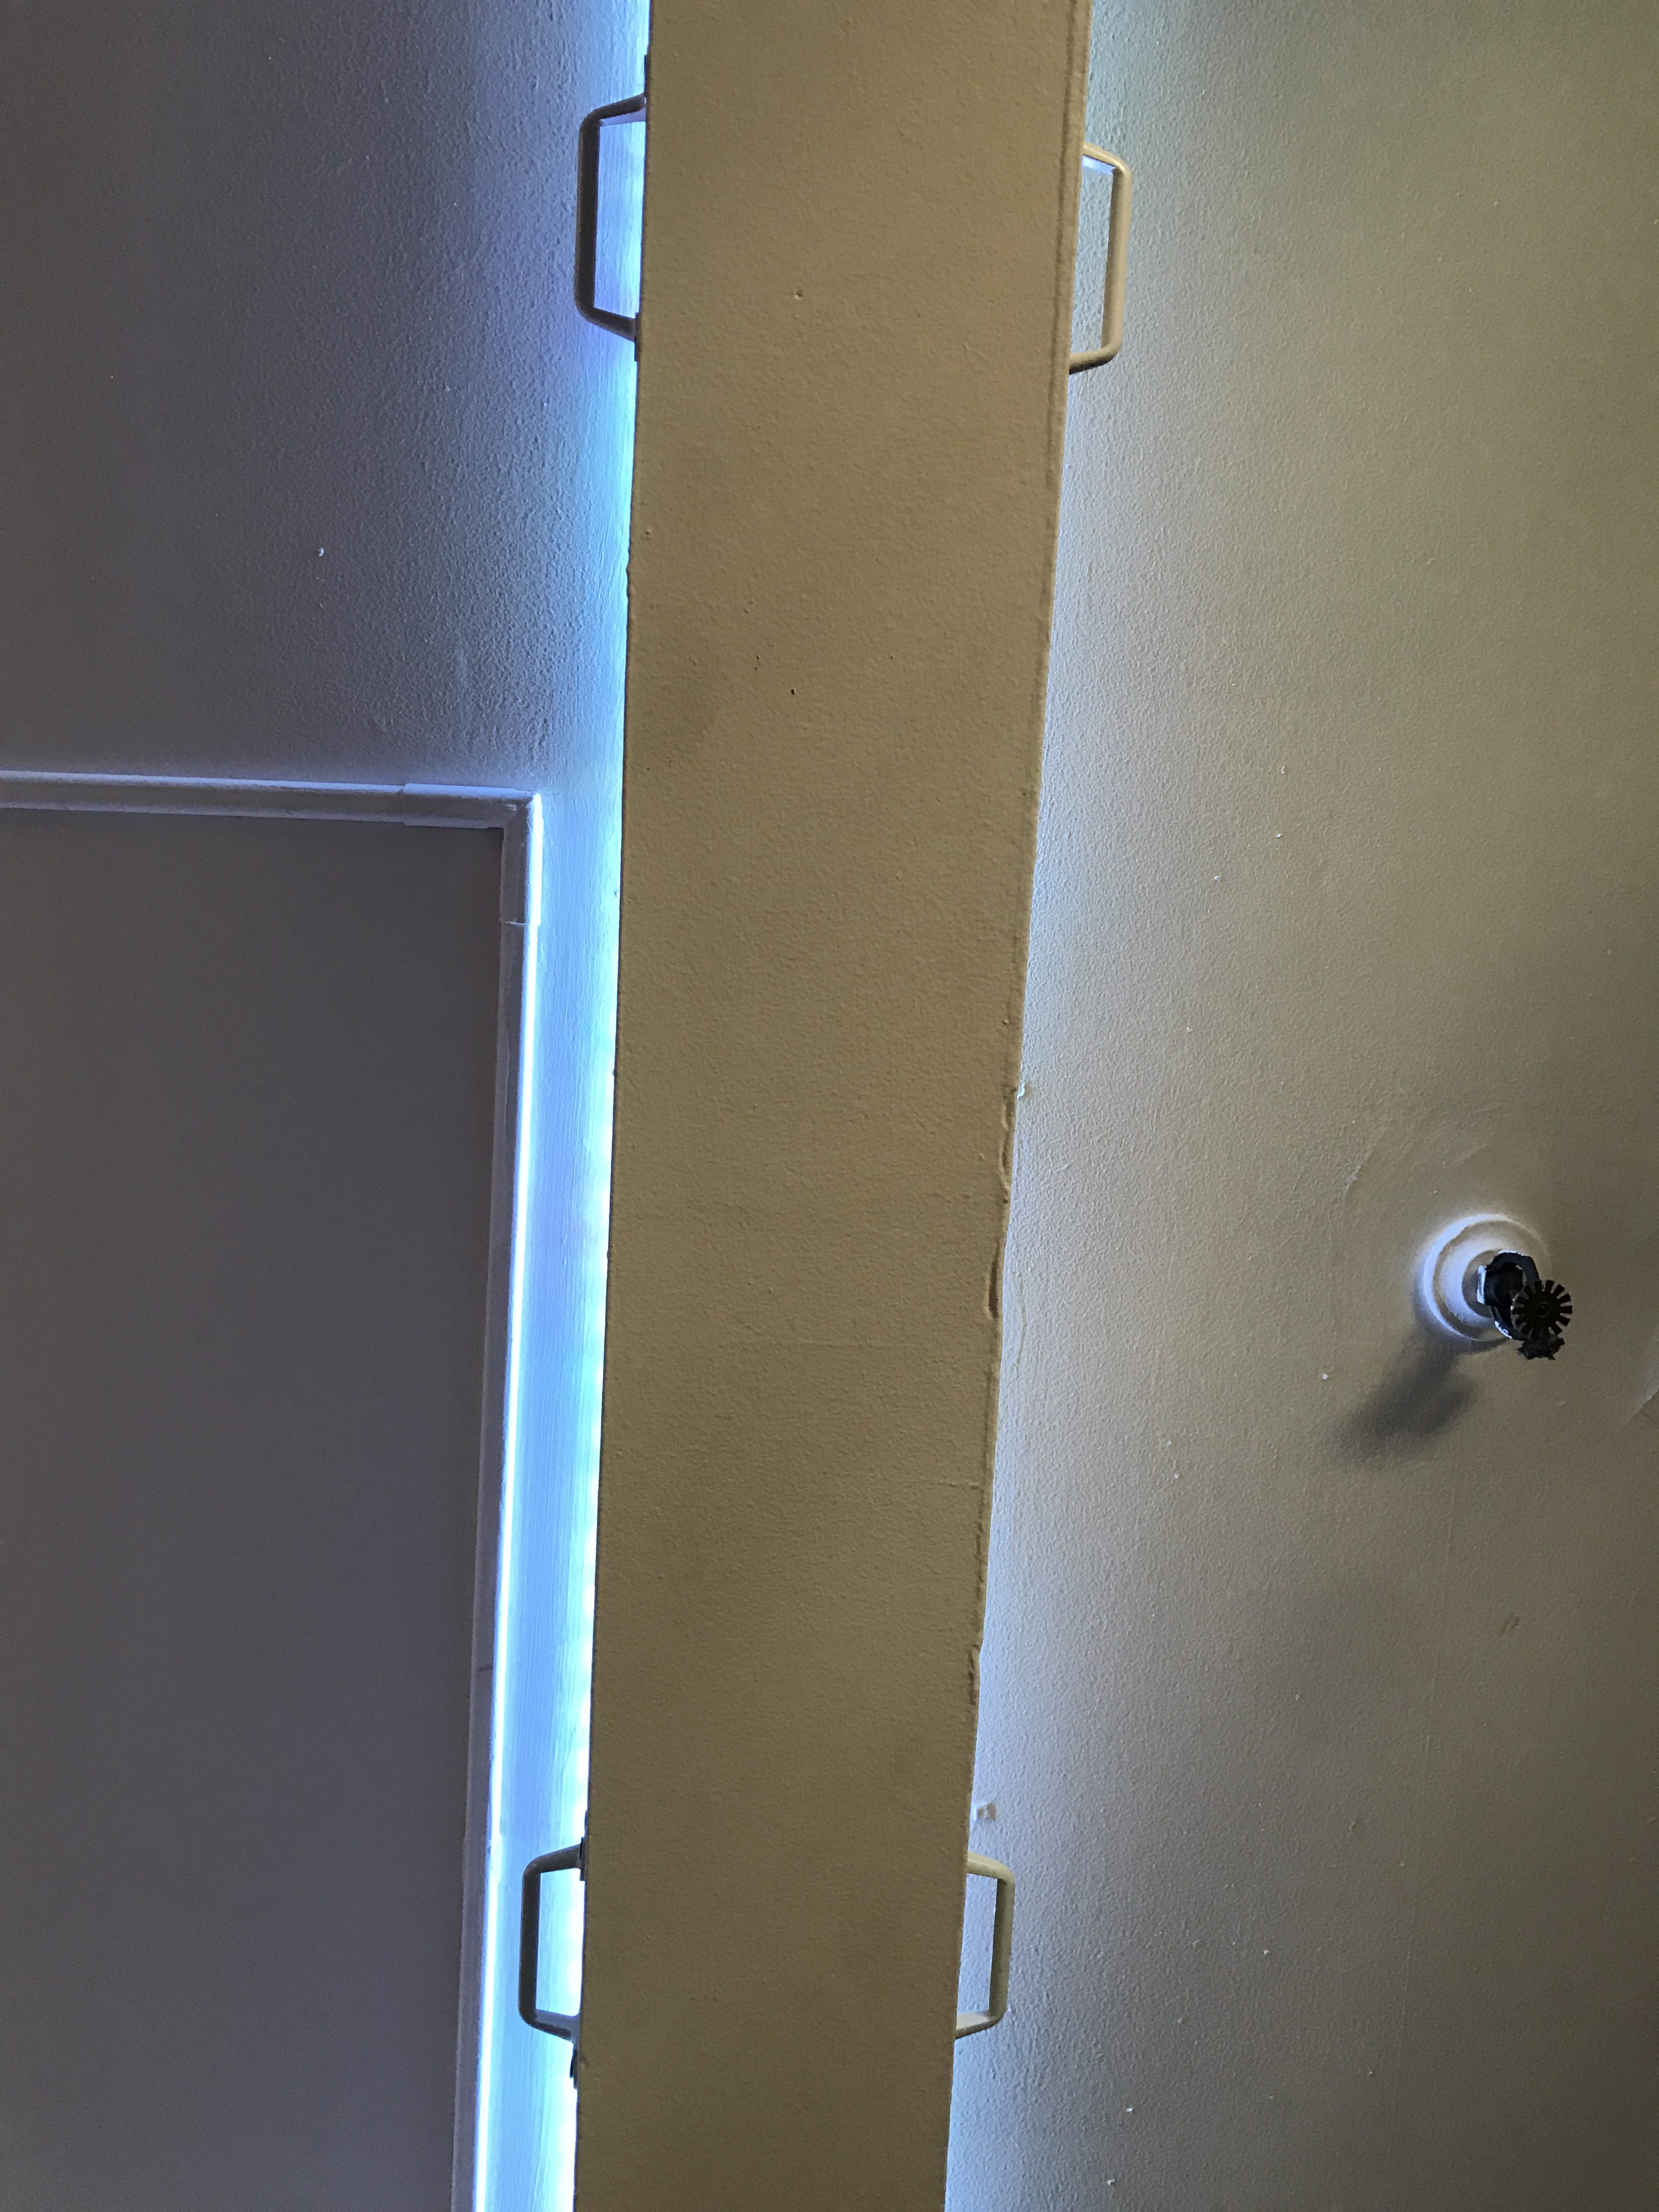
The coat hooks sit on the outside of the beam width such that to get the star ceiling onto the beam you just have to slide it up, across until the hooks sit over the cabinet handles, and then down. It’s easy enough to even be done by one person.

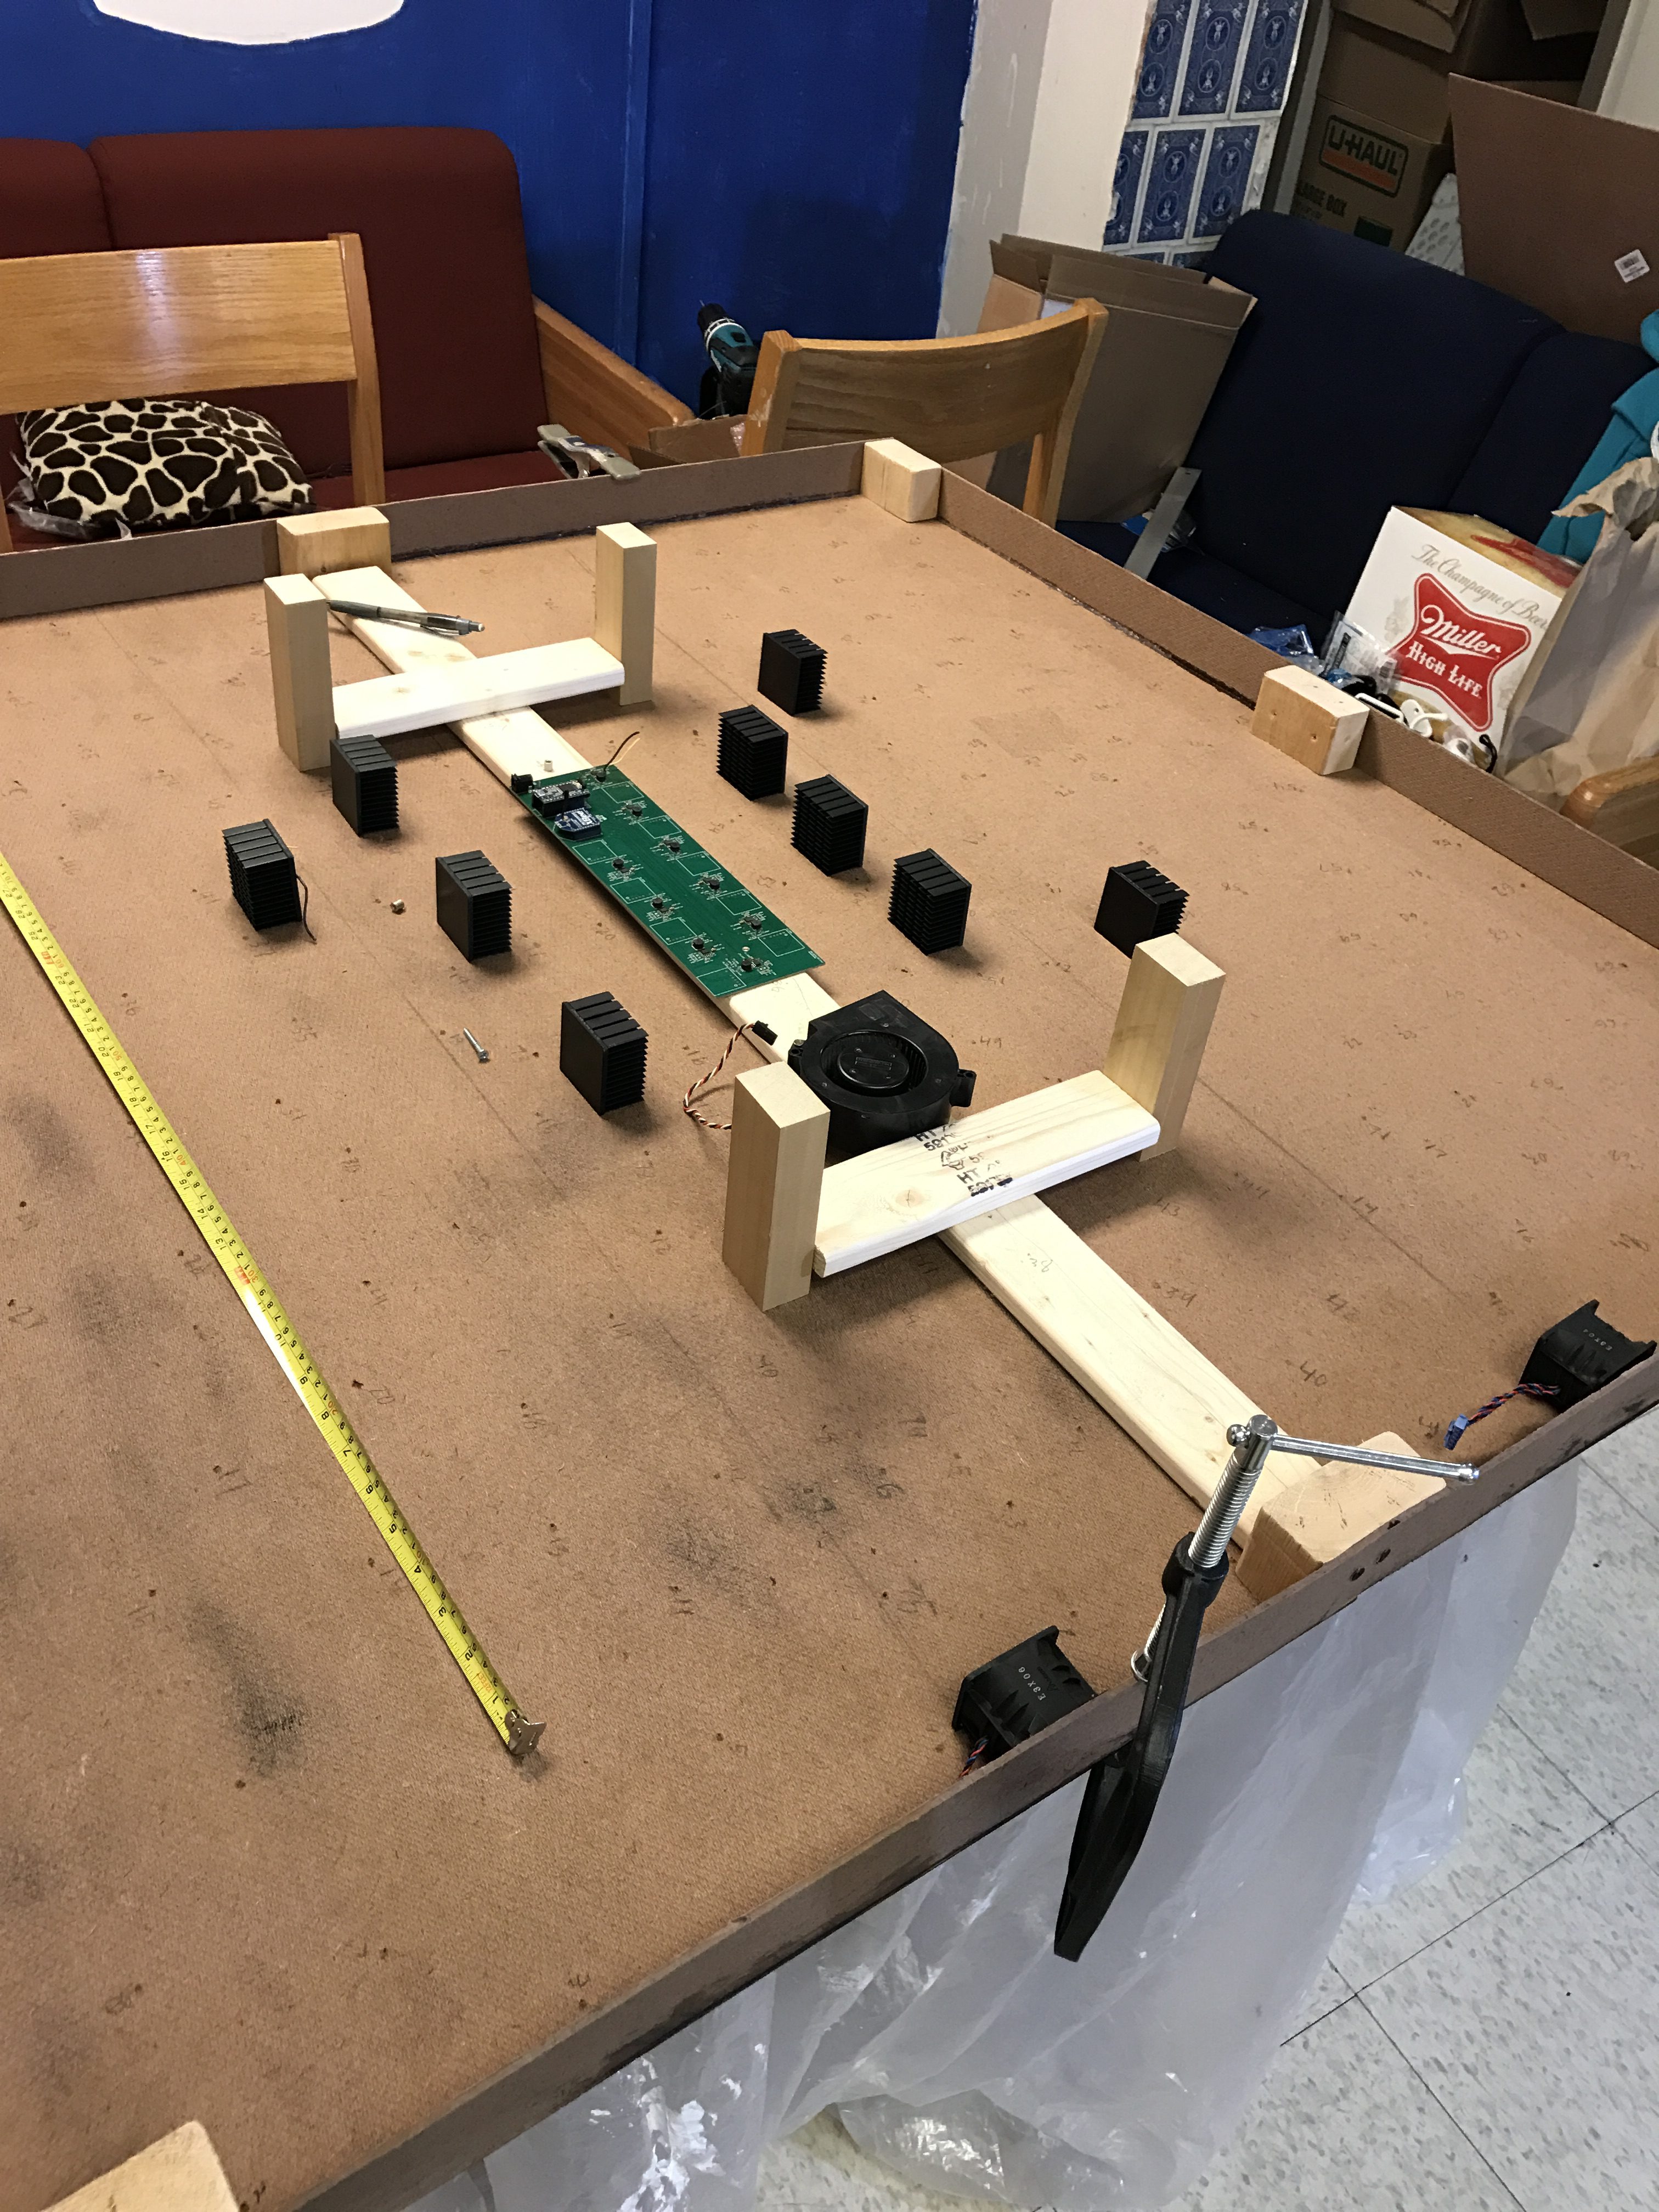
With the mechanical parts done, it was time for the electrical bits. The flashy fun part of this project is the high power LEDs that shove a bunch of light down the fiber optics.
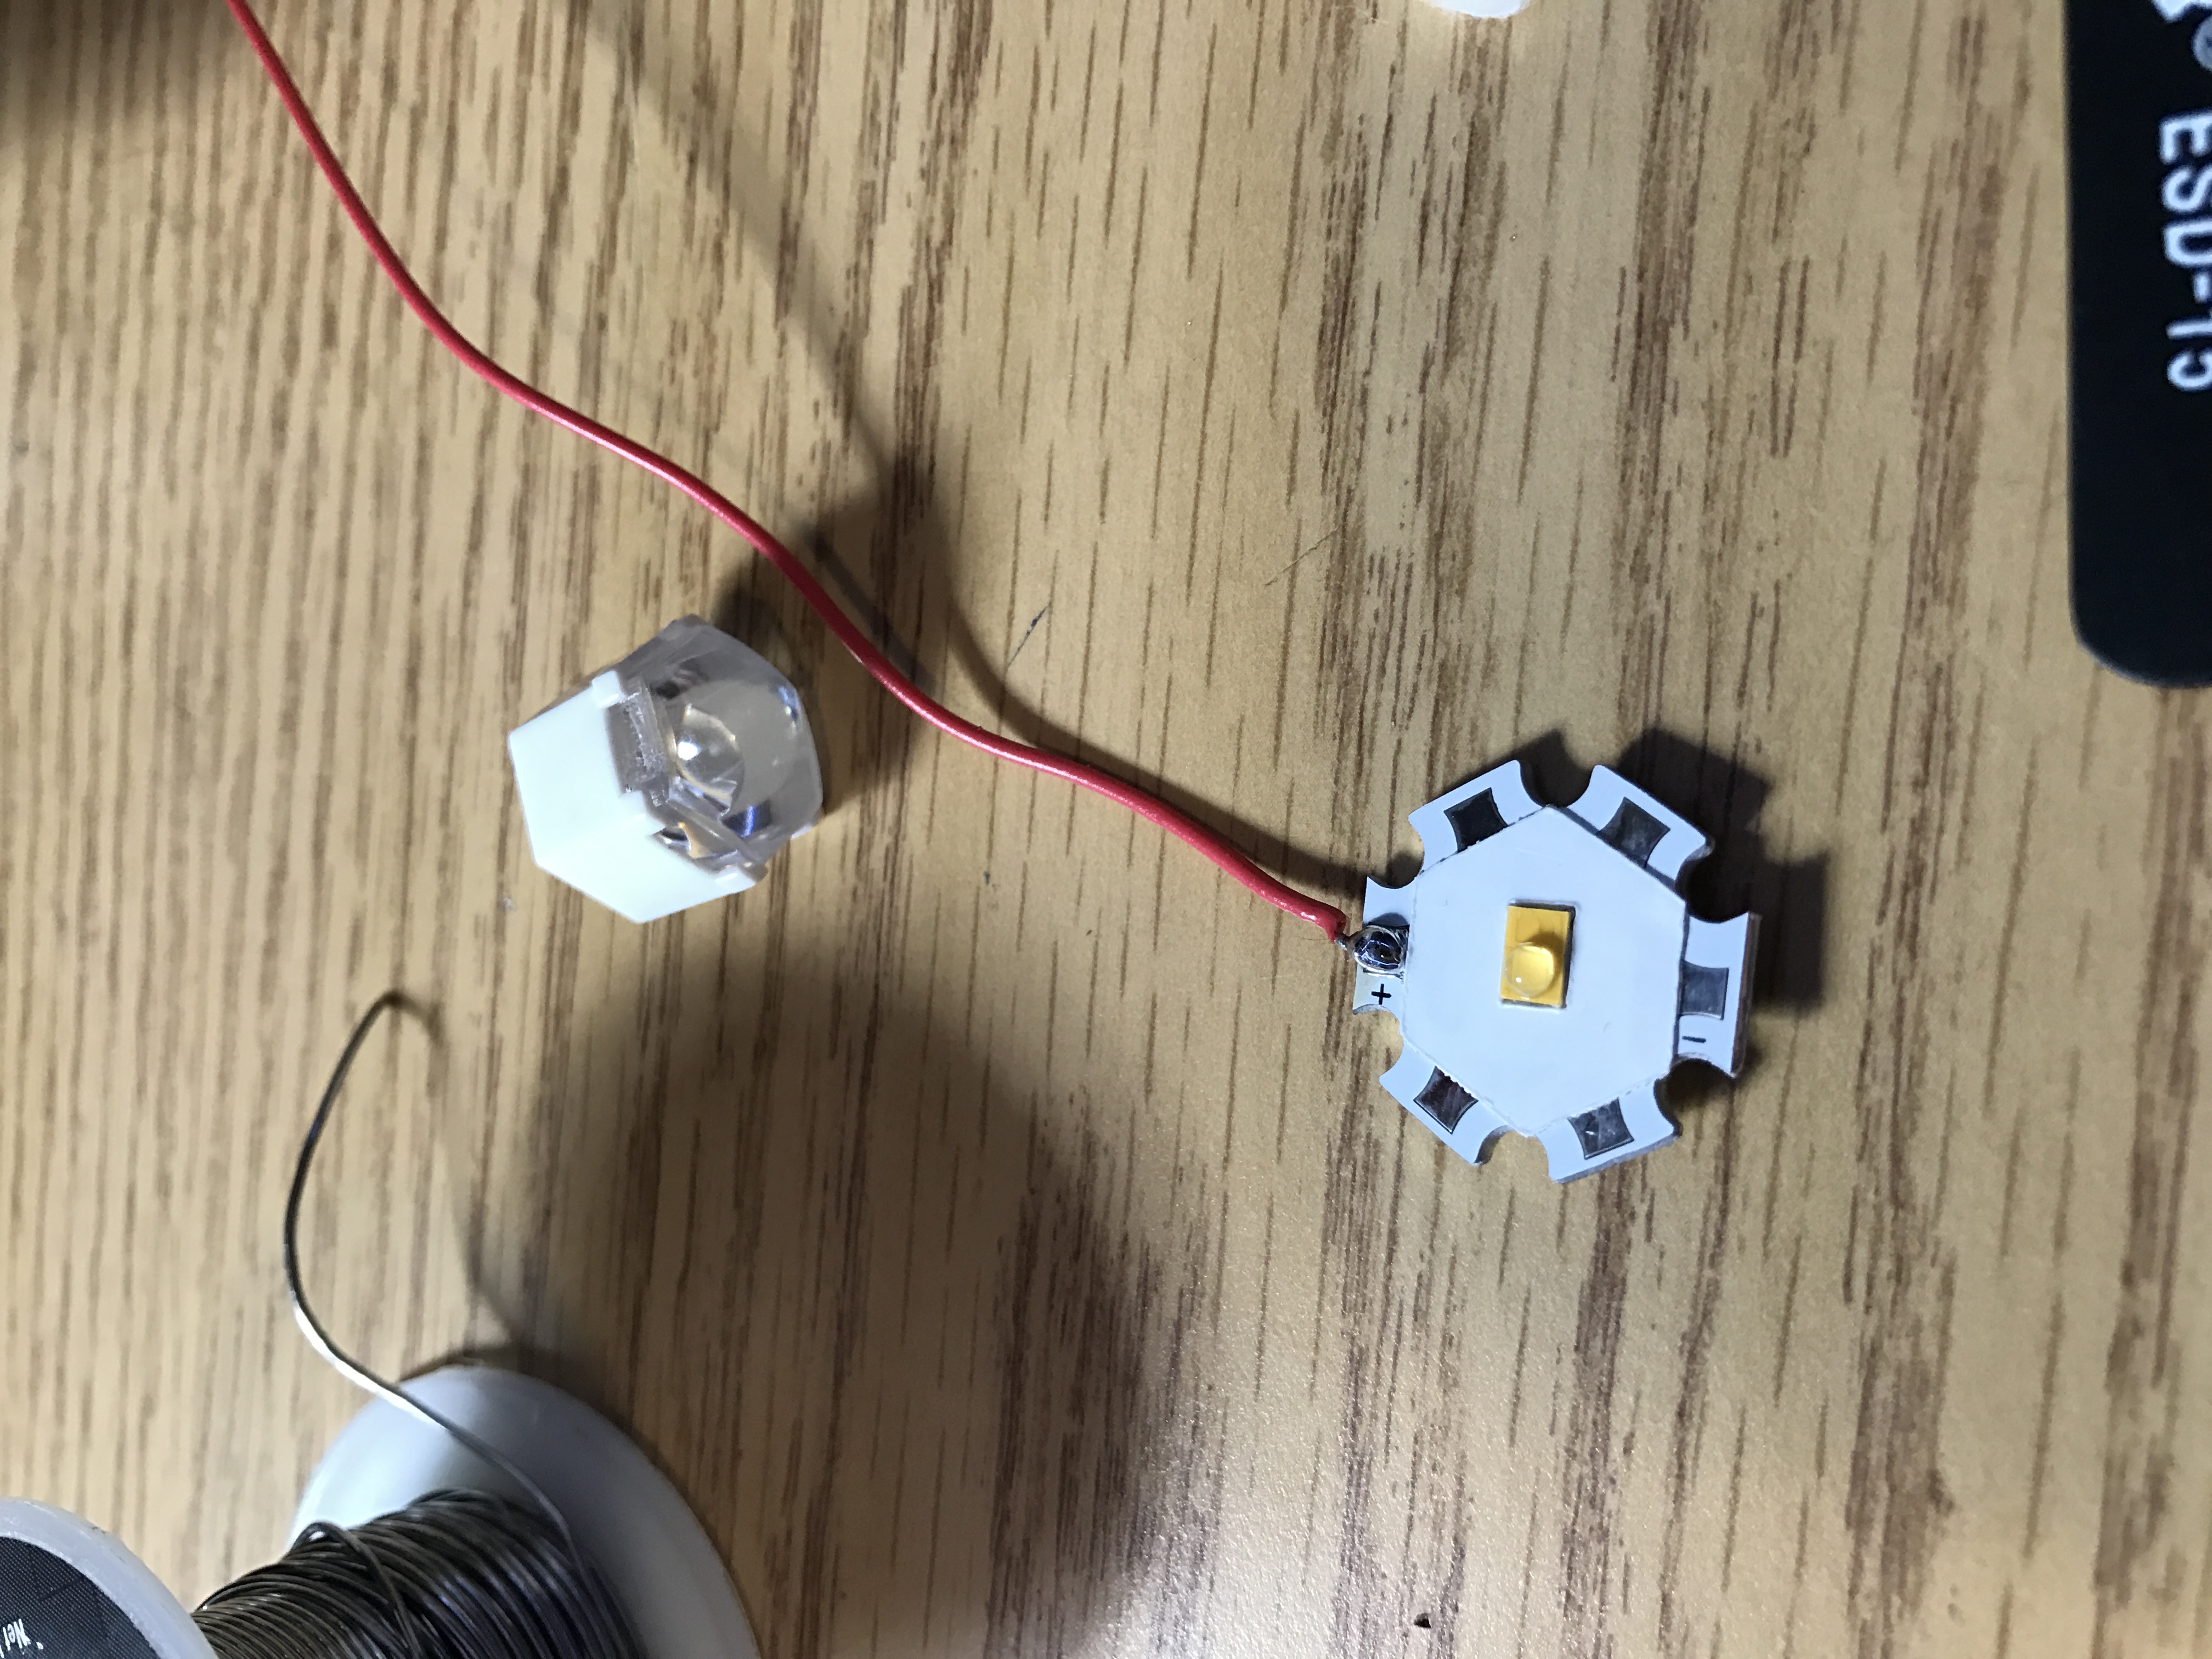
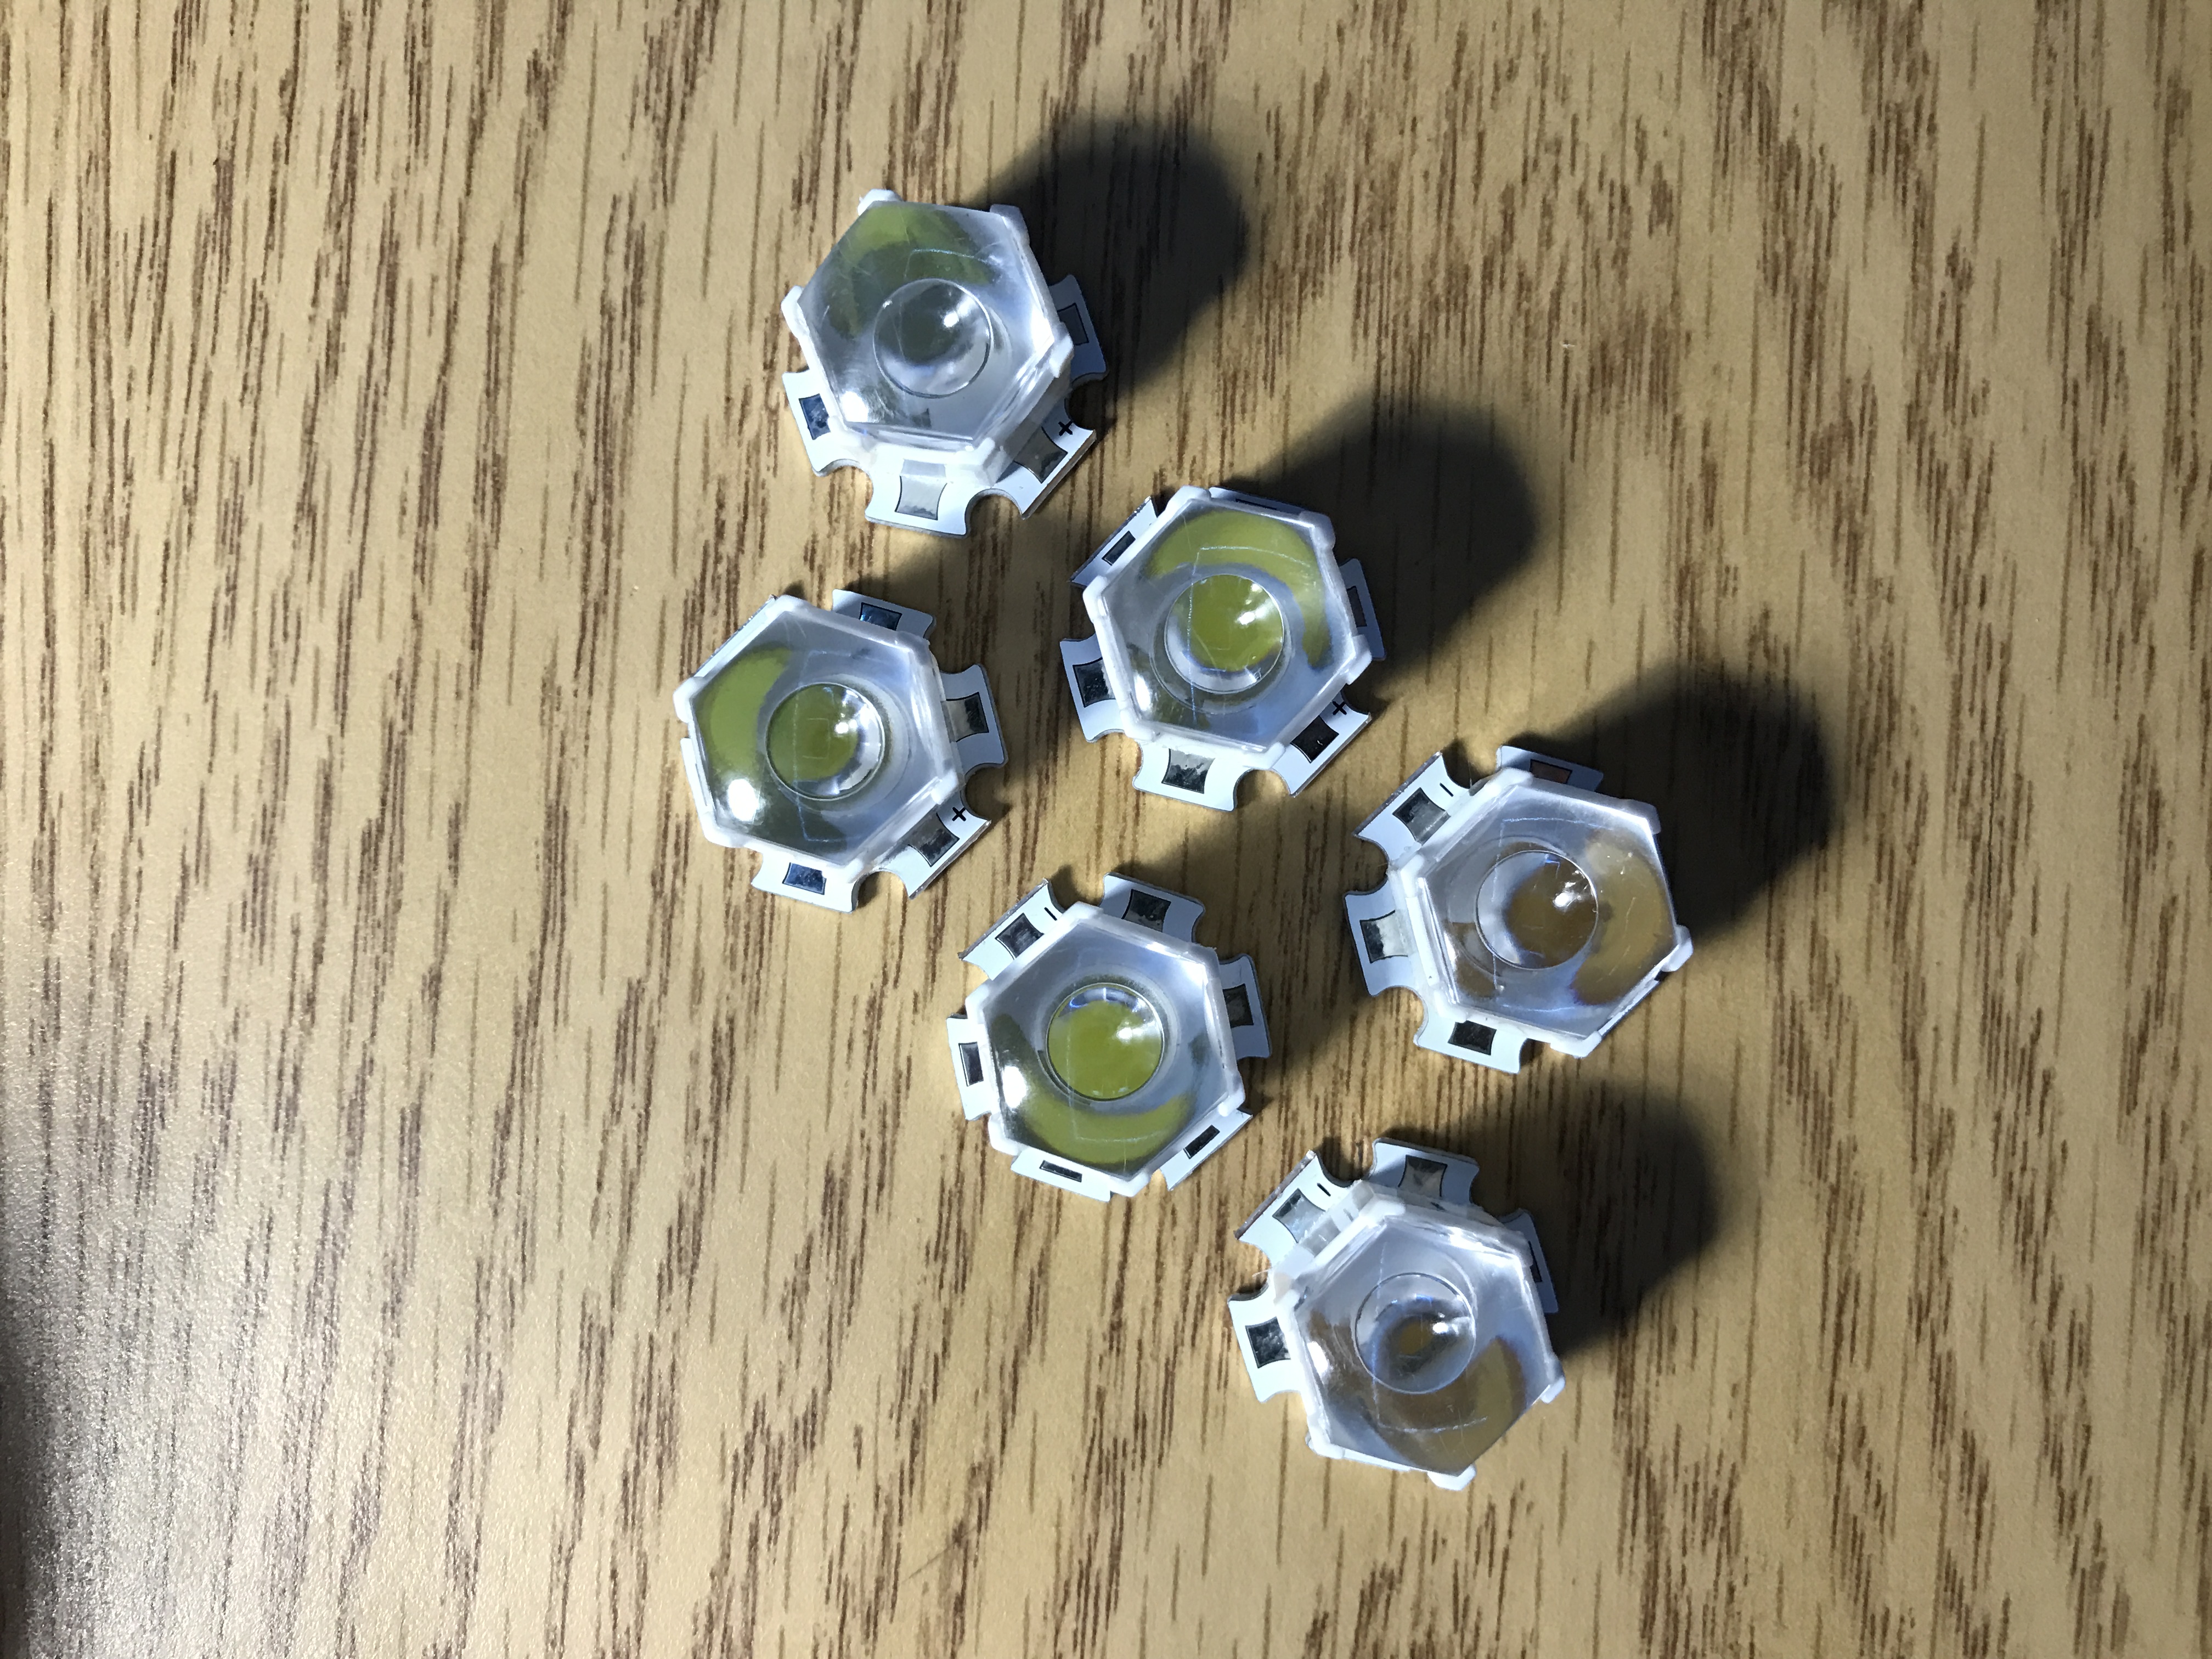
Each LED, Luxeon Rebel LEDs, was mounted on it’s own thermal aluminum backed PCB. I attached a special optics module to each one that was specially designed to focus the LED light into a narrow beam for insertion into a fiber optic cable bundle. I also used 3 different color temperatures of LED to try to mimic the different color temperatures of stars that exist.
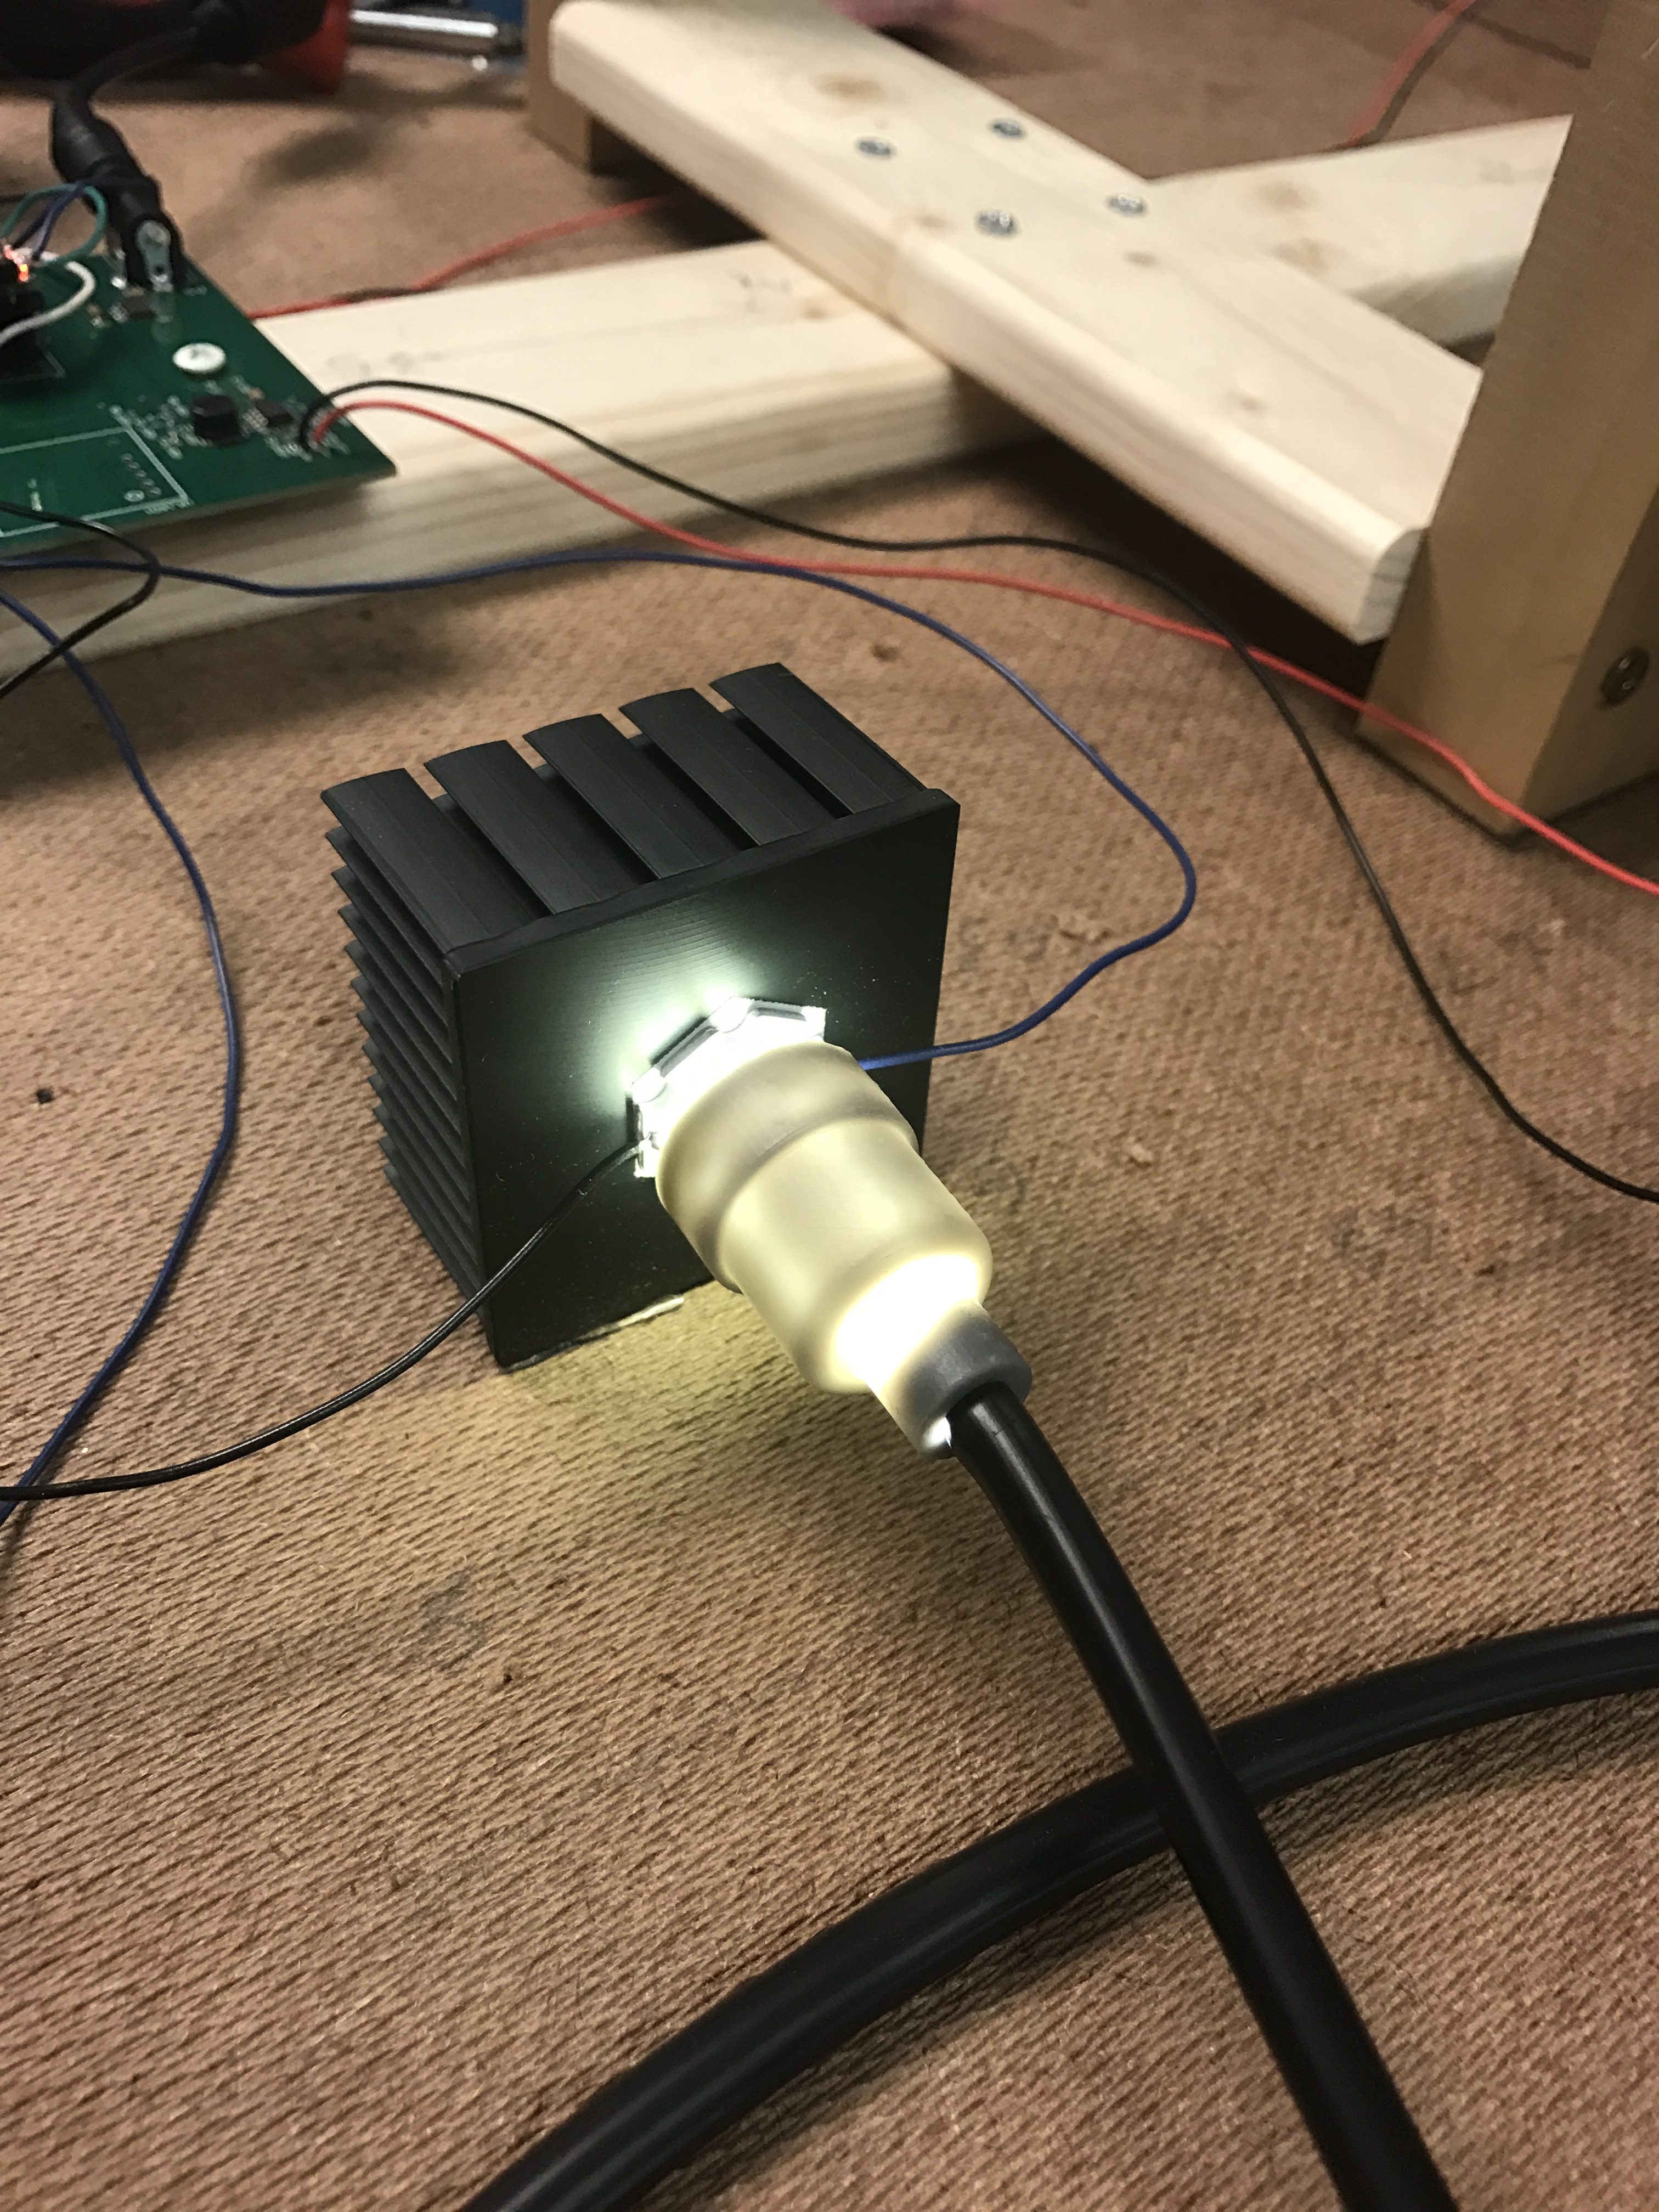
Because LEDs get hot and I didn’t want my room to burn down, I also mounted the LEDs onto some large heatsinks to ensure they stay nice and cool. I did some rough thermal calculations to size the heatsinks such that they could be lit for an indefinite period of time at an ambient room temperature without overheating.

At this point I needed a way to connect the fiber optic bundle to the LED optics. The optics focus the light optimally at a specific distance away from the fibers. I designed a special adapter to hold the fiber bundle the correct distance away from the optics. My friend Steven Gerasimoff had access to a 3D printer so I solicited his help in printing it.
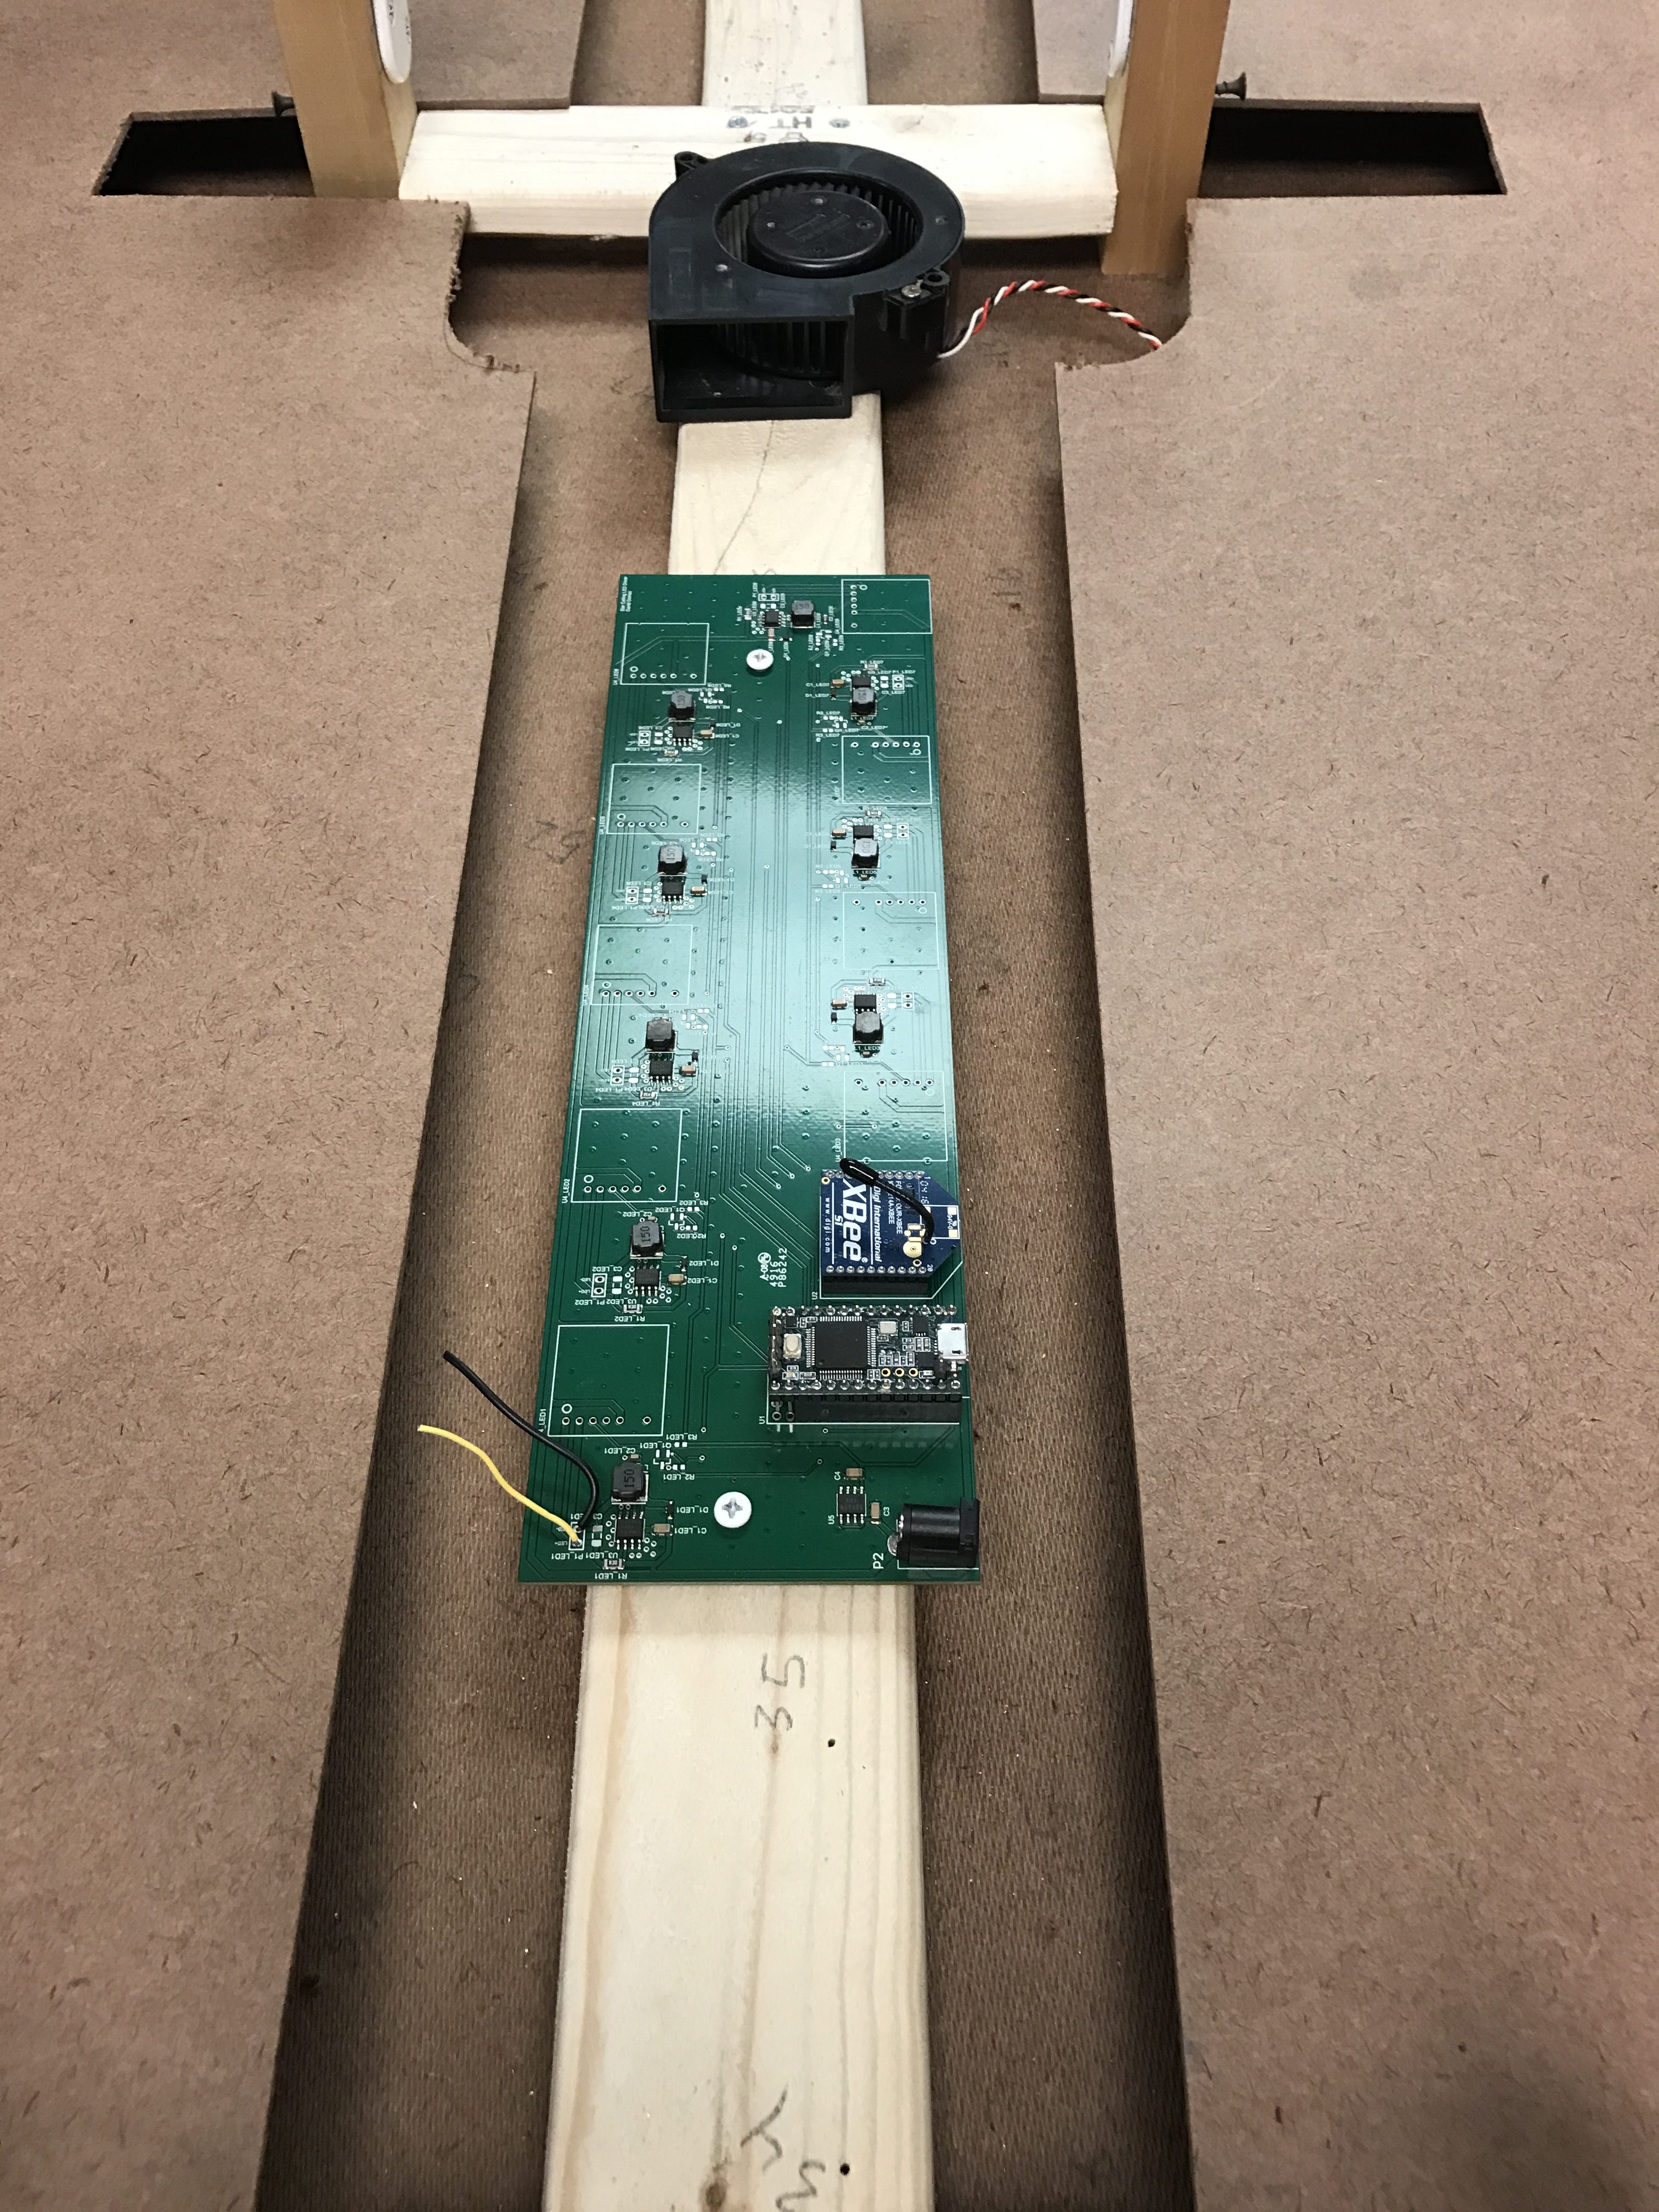
Now that we have light, we need control of it. For this project I made a custom PCB to control the 9 high power LEDs I needed to light all the fibers. The board had a Teensy to run the code that would control it. I also added an XBee to allow the control board to communicate wirelessly with the main controller for my room lights. To drive the LEDs I used some constant current LED driver ICs. These enabled me to control the current through the LEDs with a voltage from the Teensy.
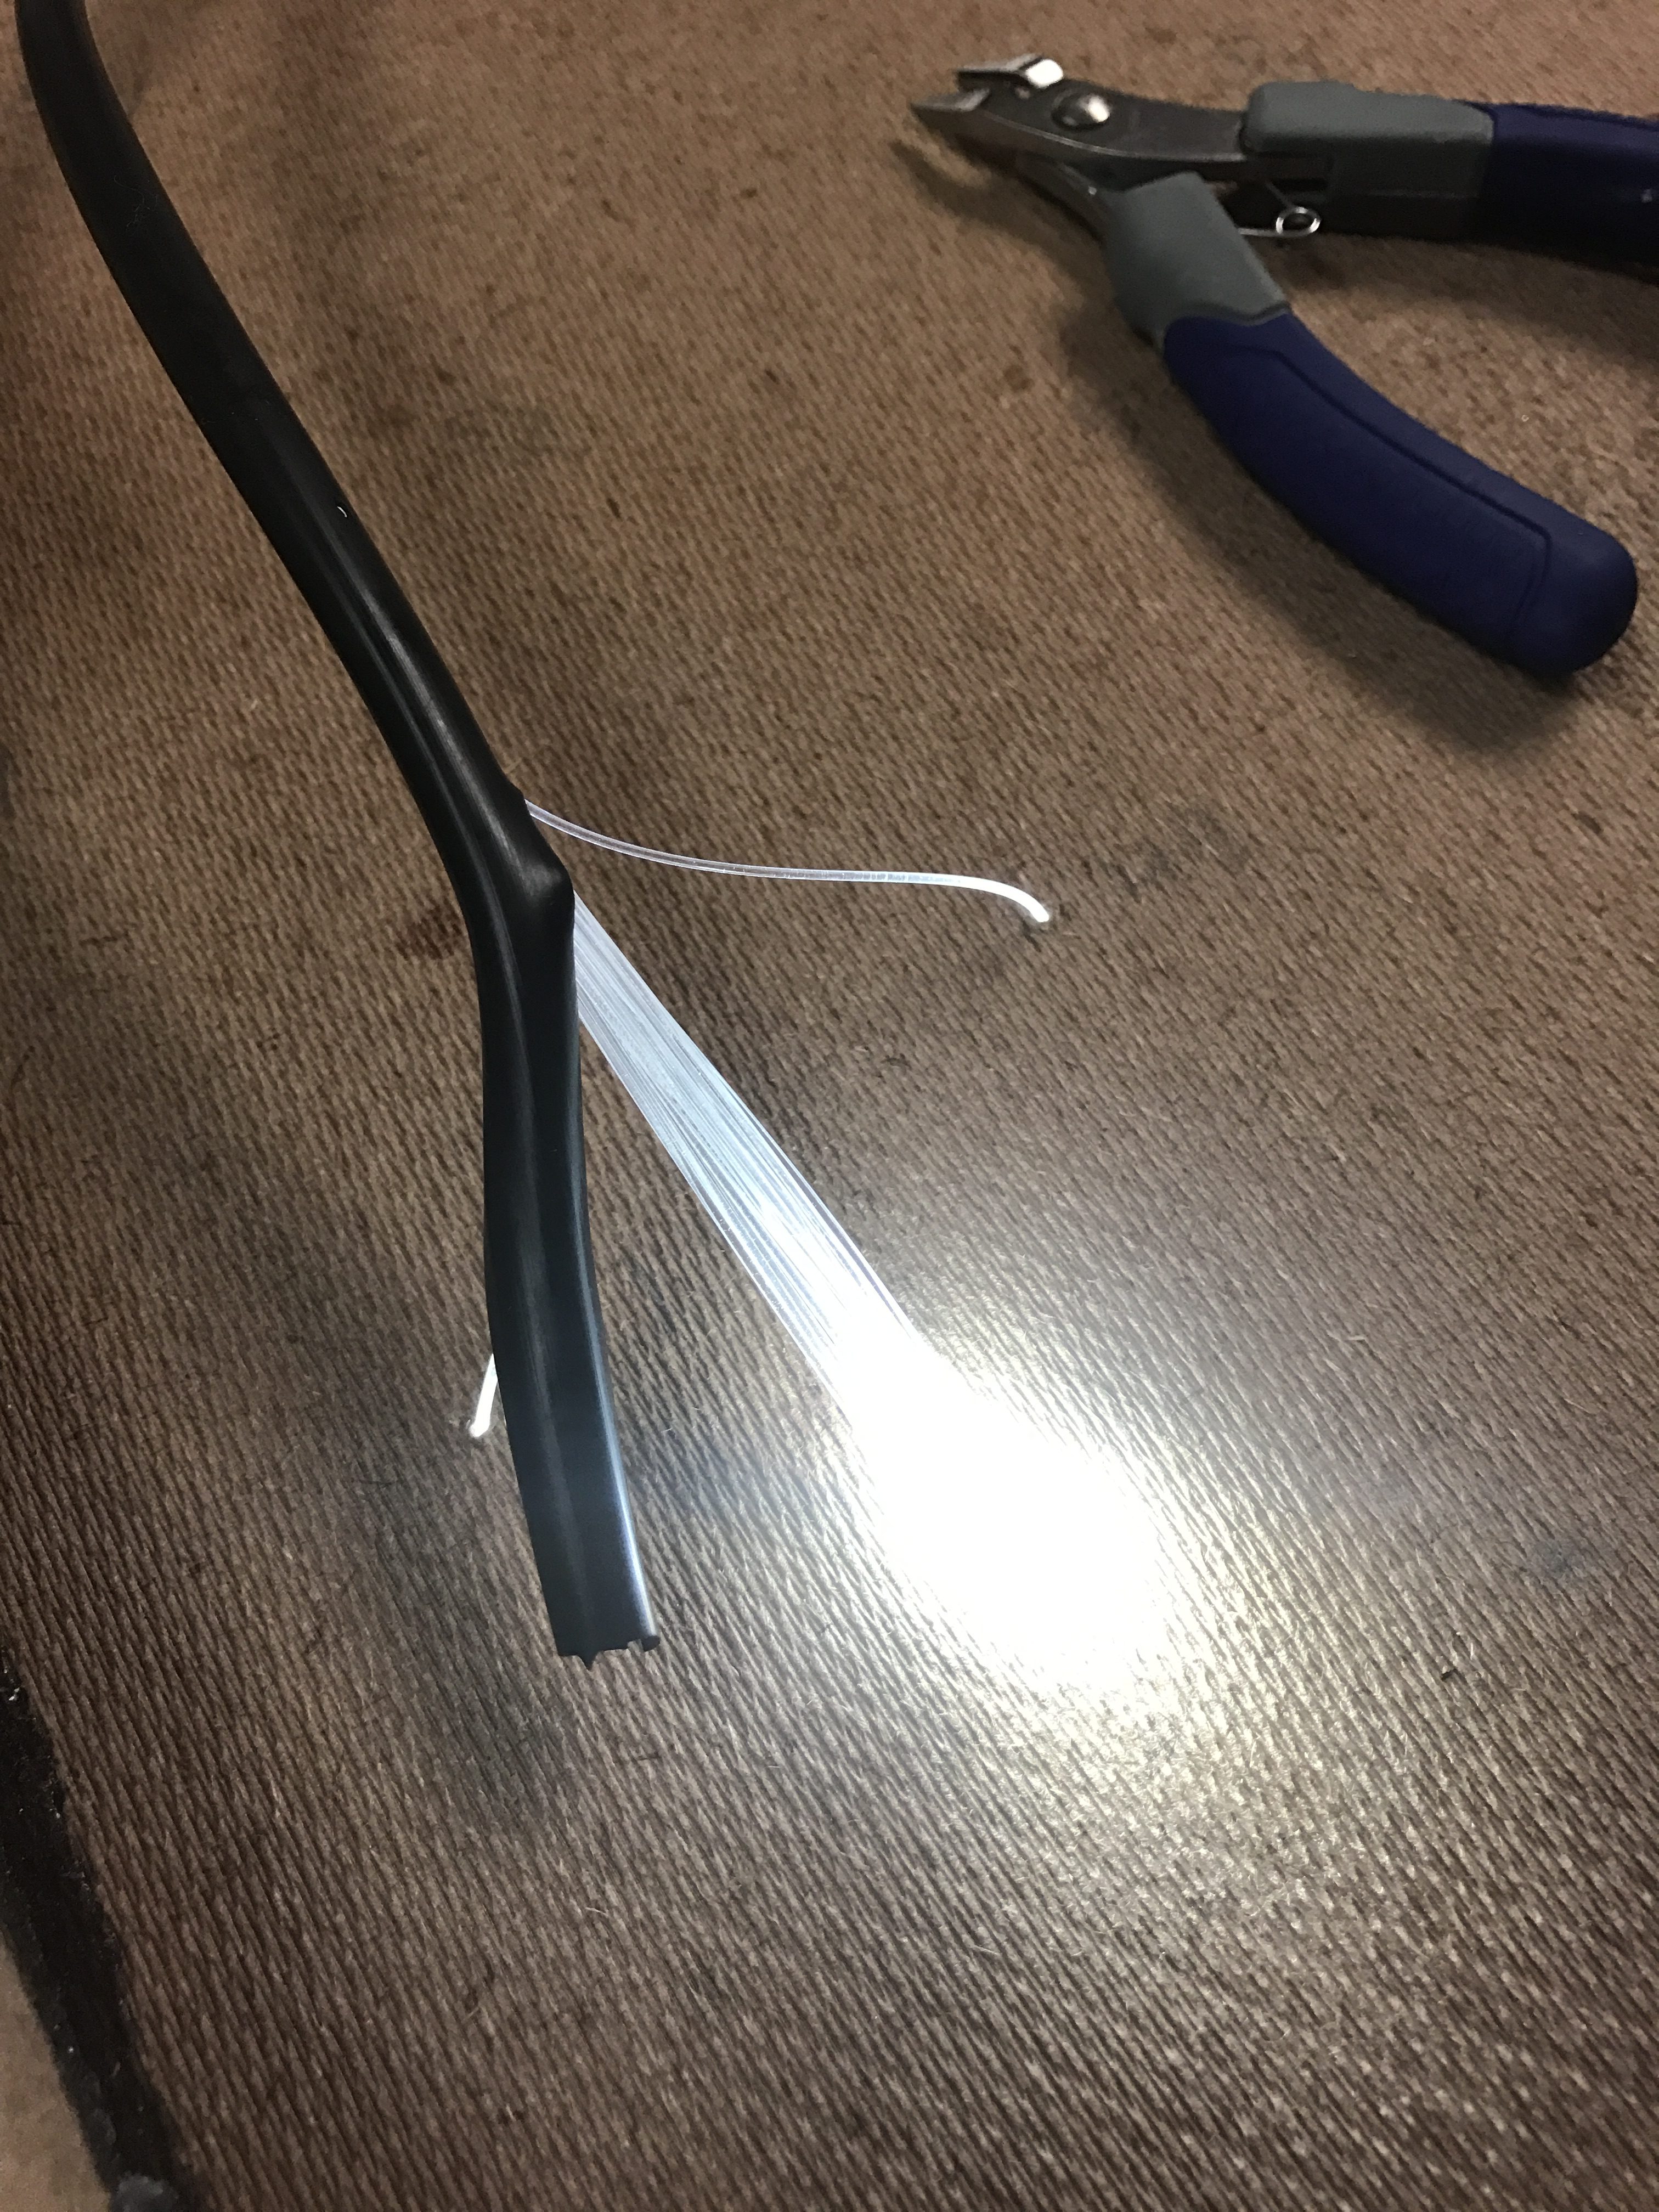
With all the electronics in place it was time for the tedious job of routing all the fibers to their holes.

All of the fiber bundles started out the same length. I pulled them all through the holes at the bottom and then cut them to length.
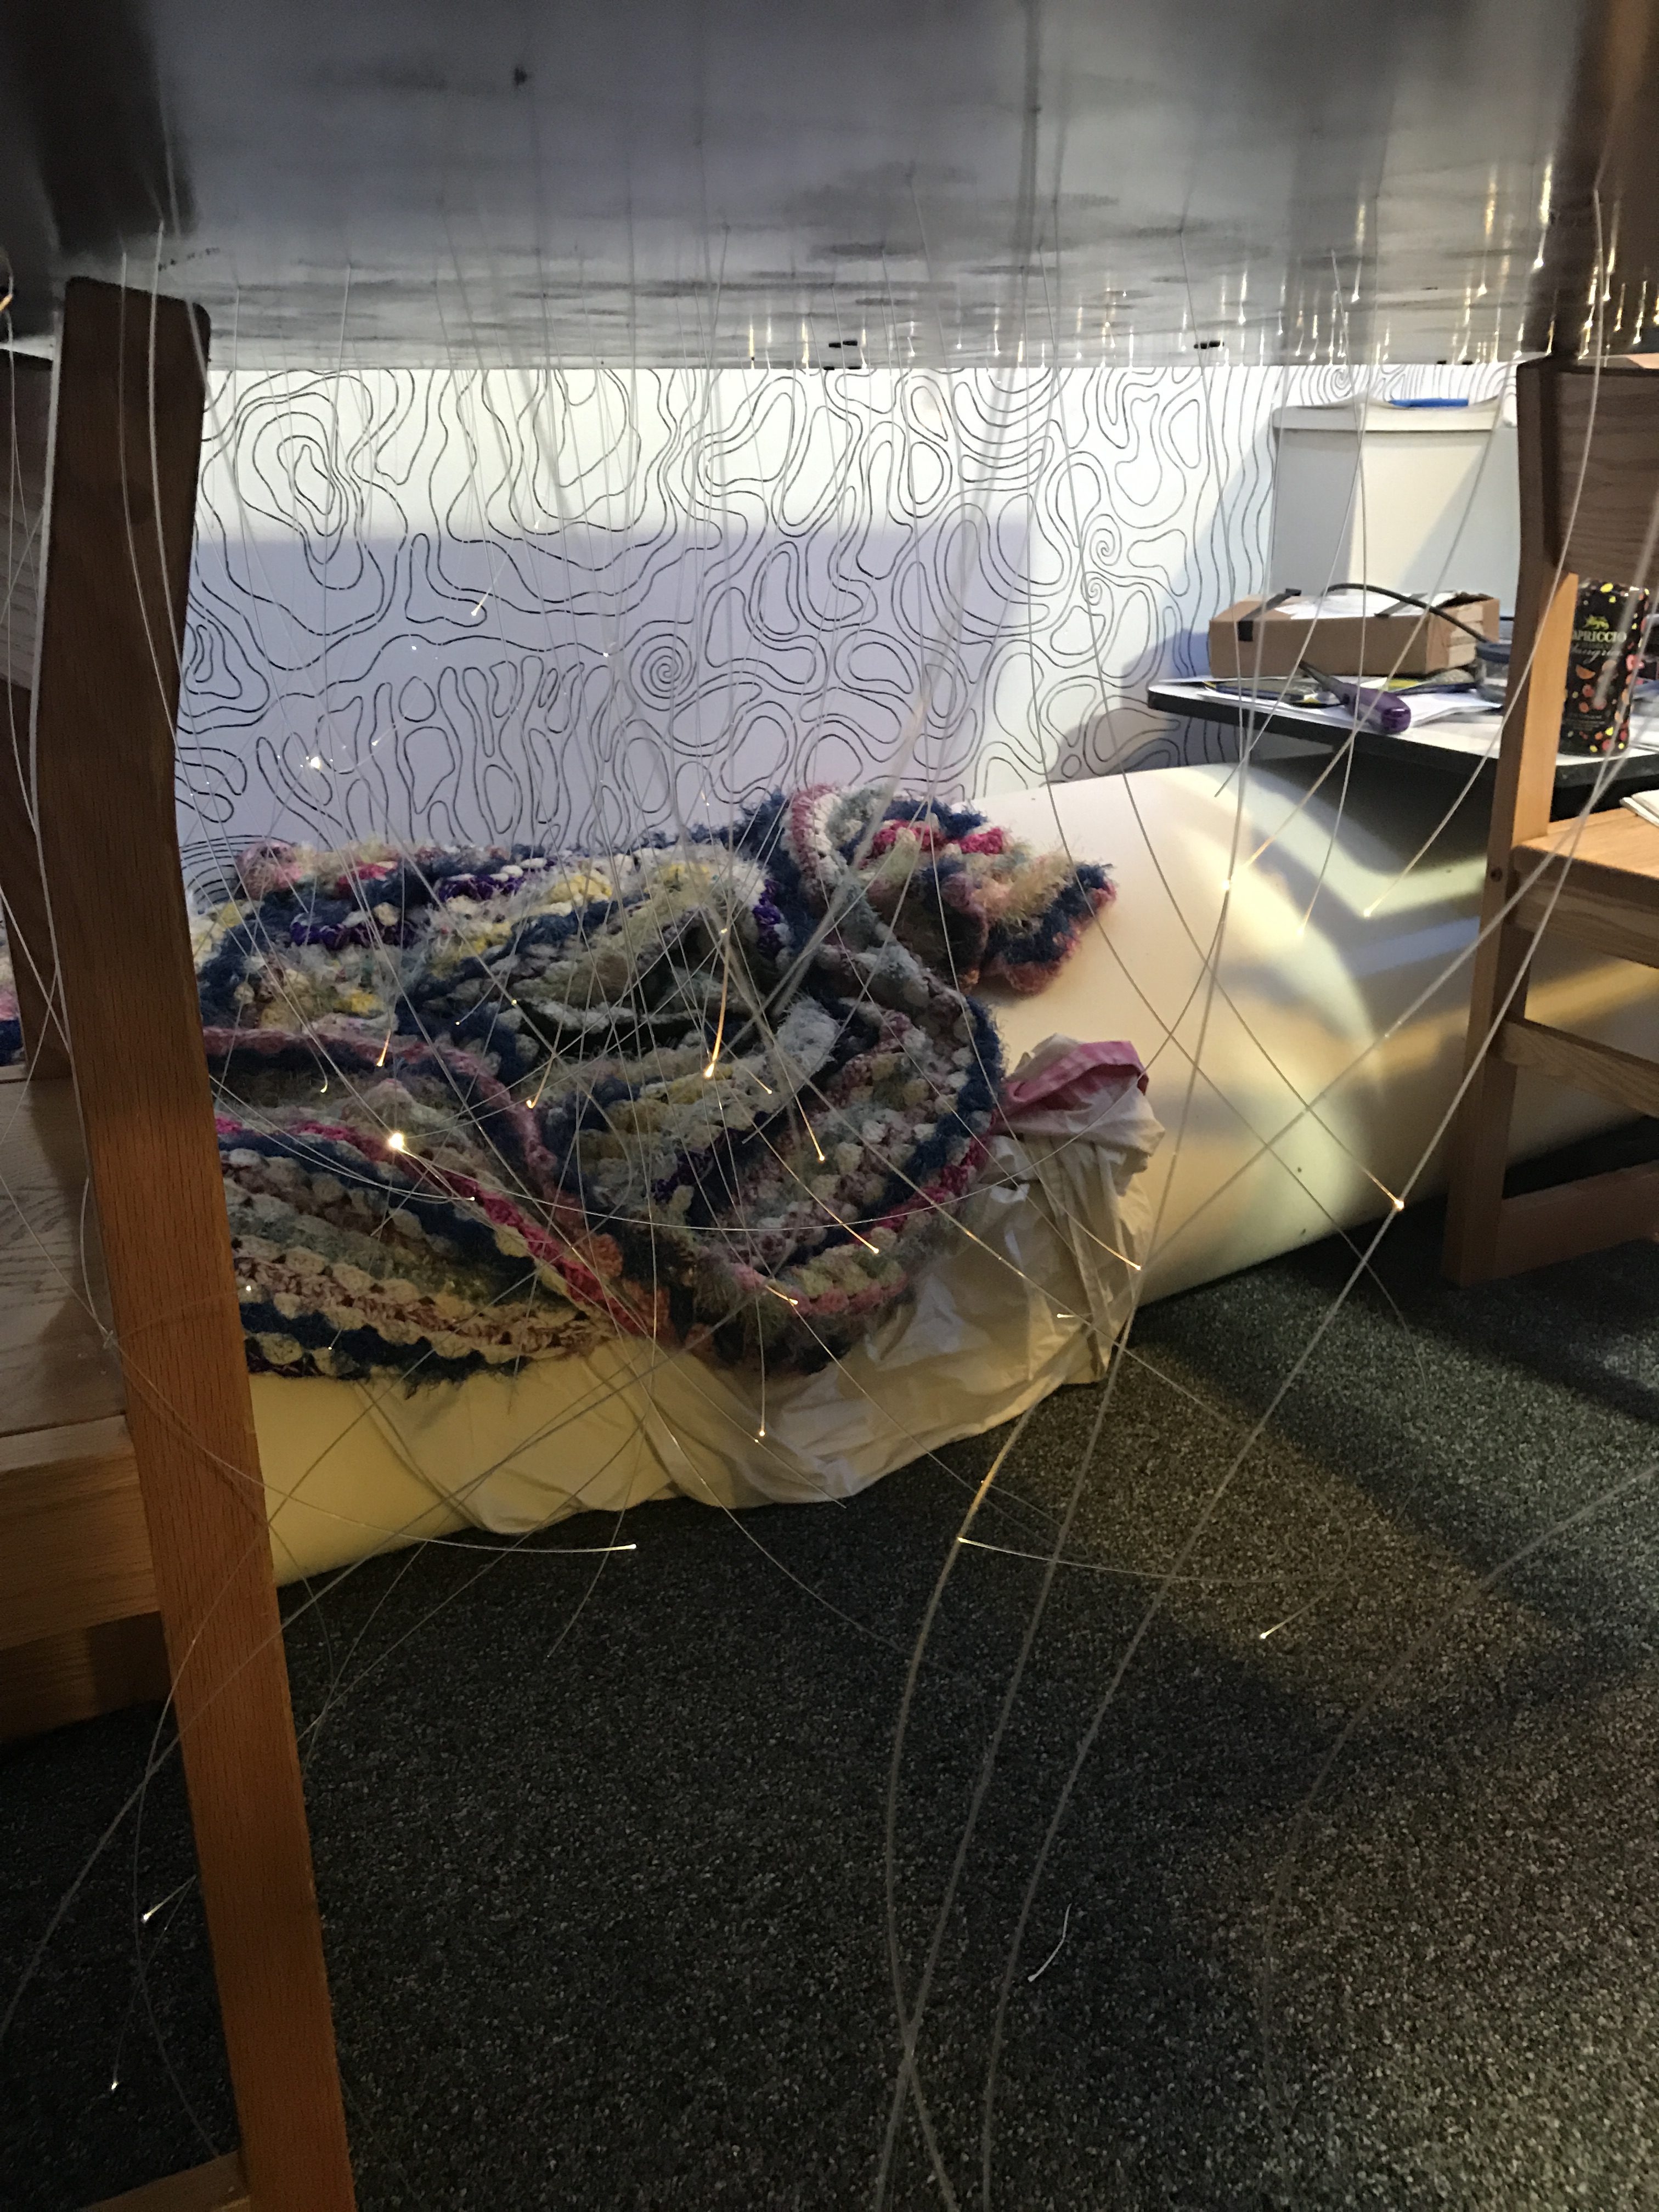
Eventually, and with the help of some zipties, I was able to corral the fibers into a manageable state.

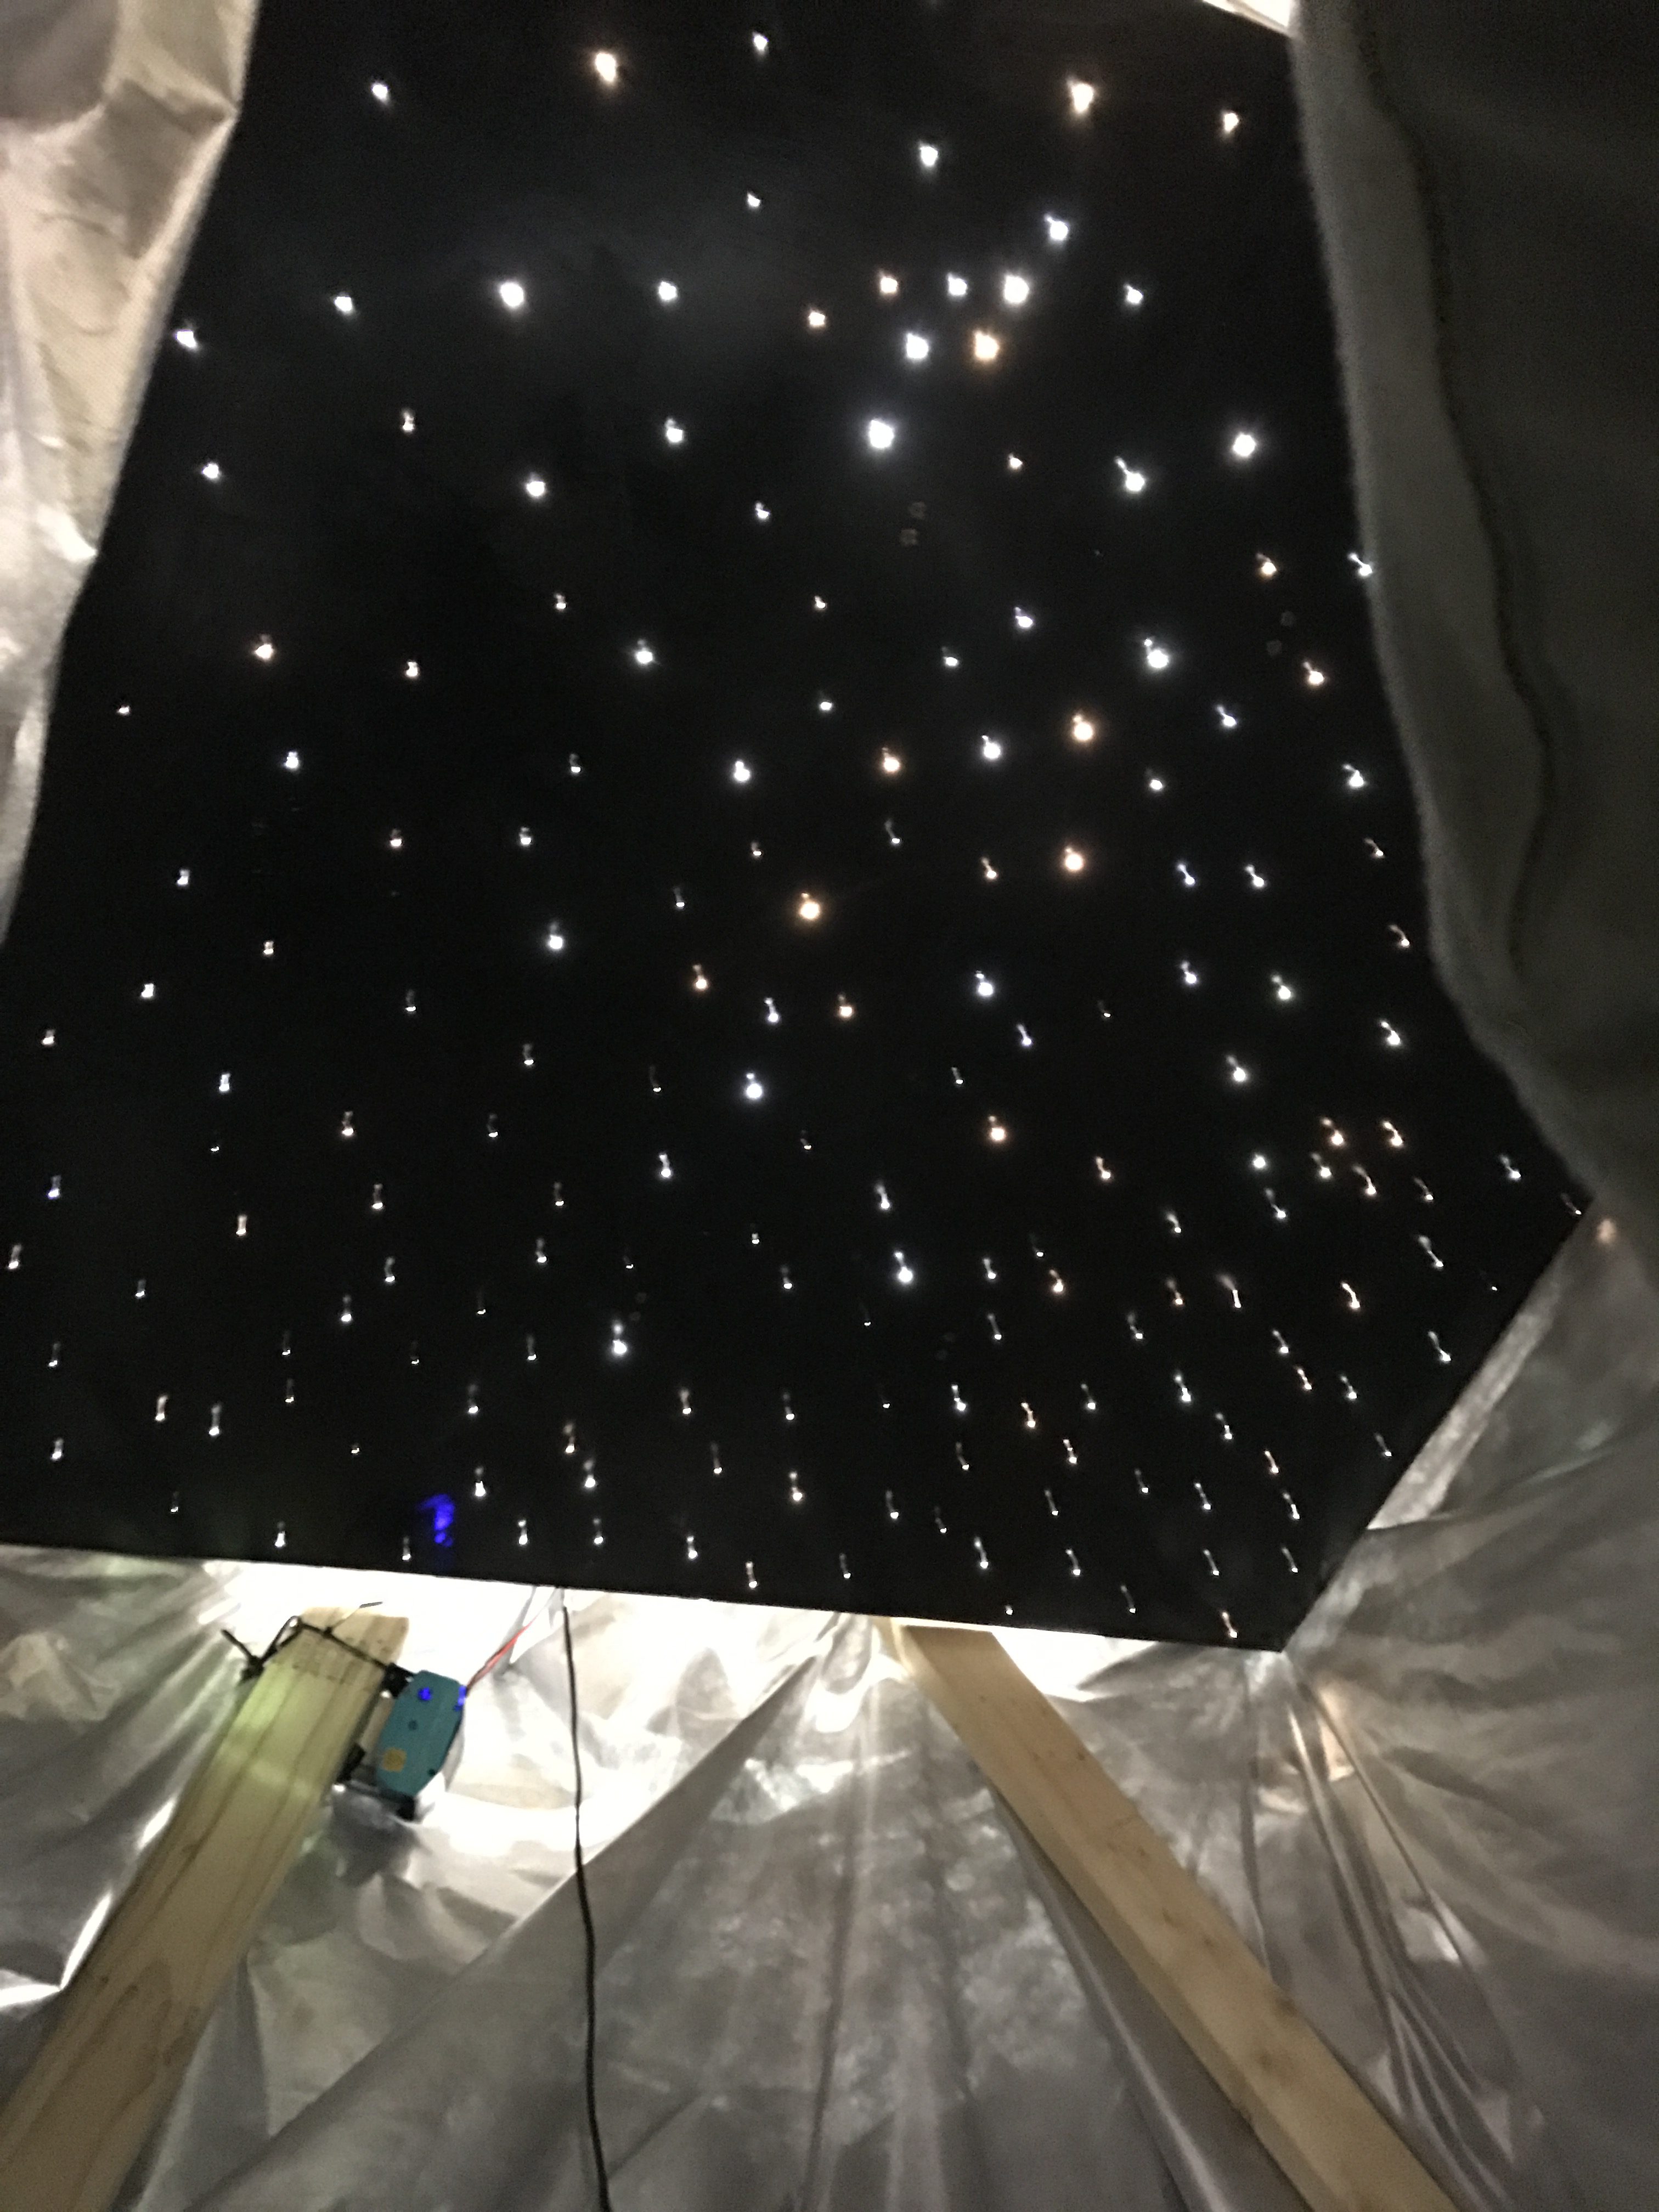
With the fibers all in place, I placed the lid on the ceiling to keep any extraneous light from leaking out and then hung the whole contraption onto the ceiling.
Once the ceiling was mounted I was able to control it with the app I made to control my other room lights. I added a few selectable patterns like a twinkle effect and a wave effect that pulsed the fibers in the 3 different zones the ceiling had. I also added a slider to select the color temperature of the fibers since there were also 3 different color temperatures of LEDs for the stars.
For the most part the star ceiling lived in my room; however, since this was a project funded by the projx program I decided I should display the star ceiling for all to see along with the rest of the projx projects at the xfair in MIT’s Rockwell cage.
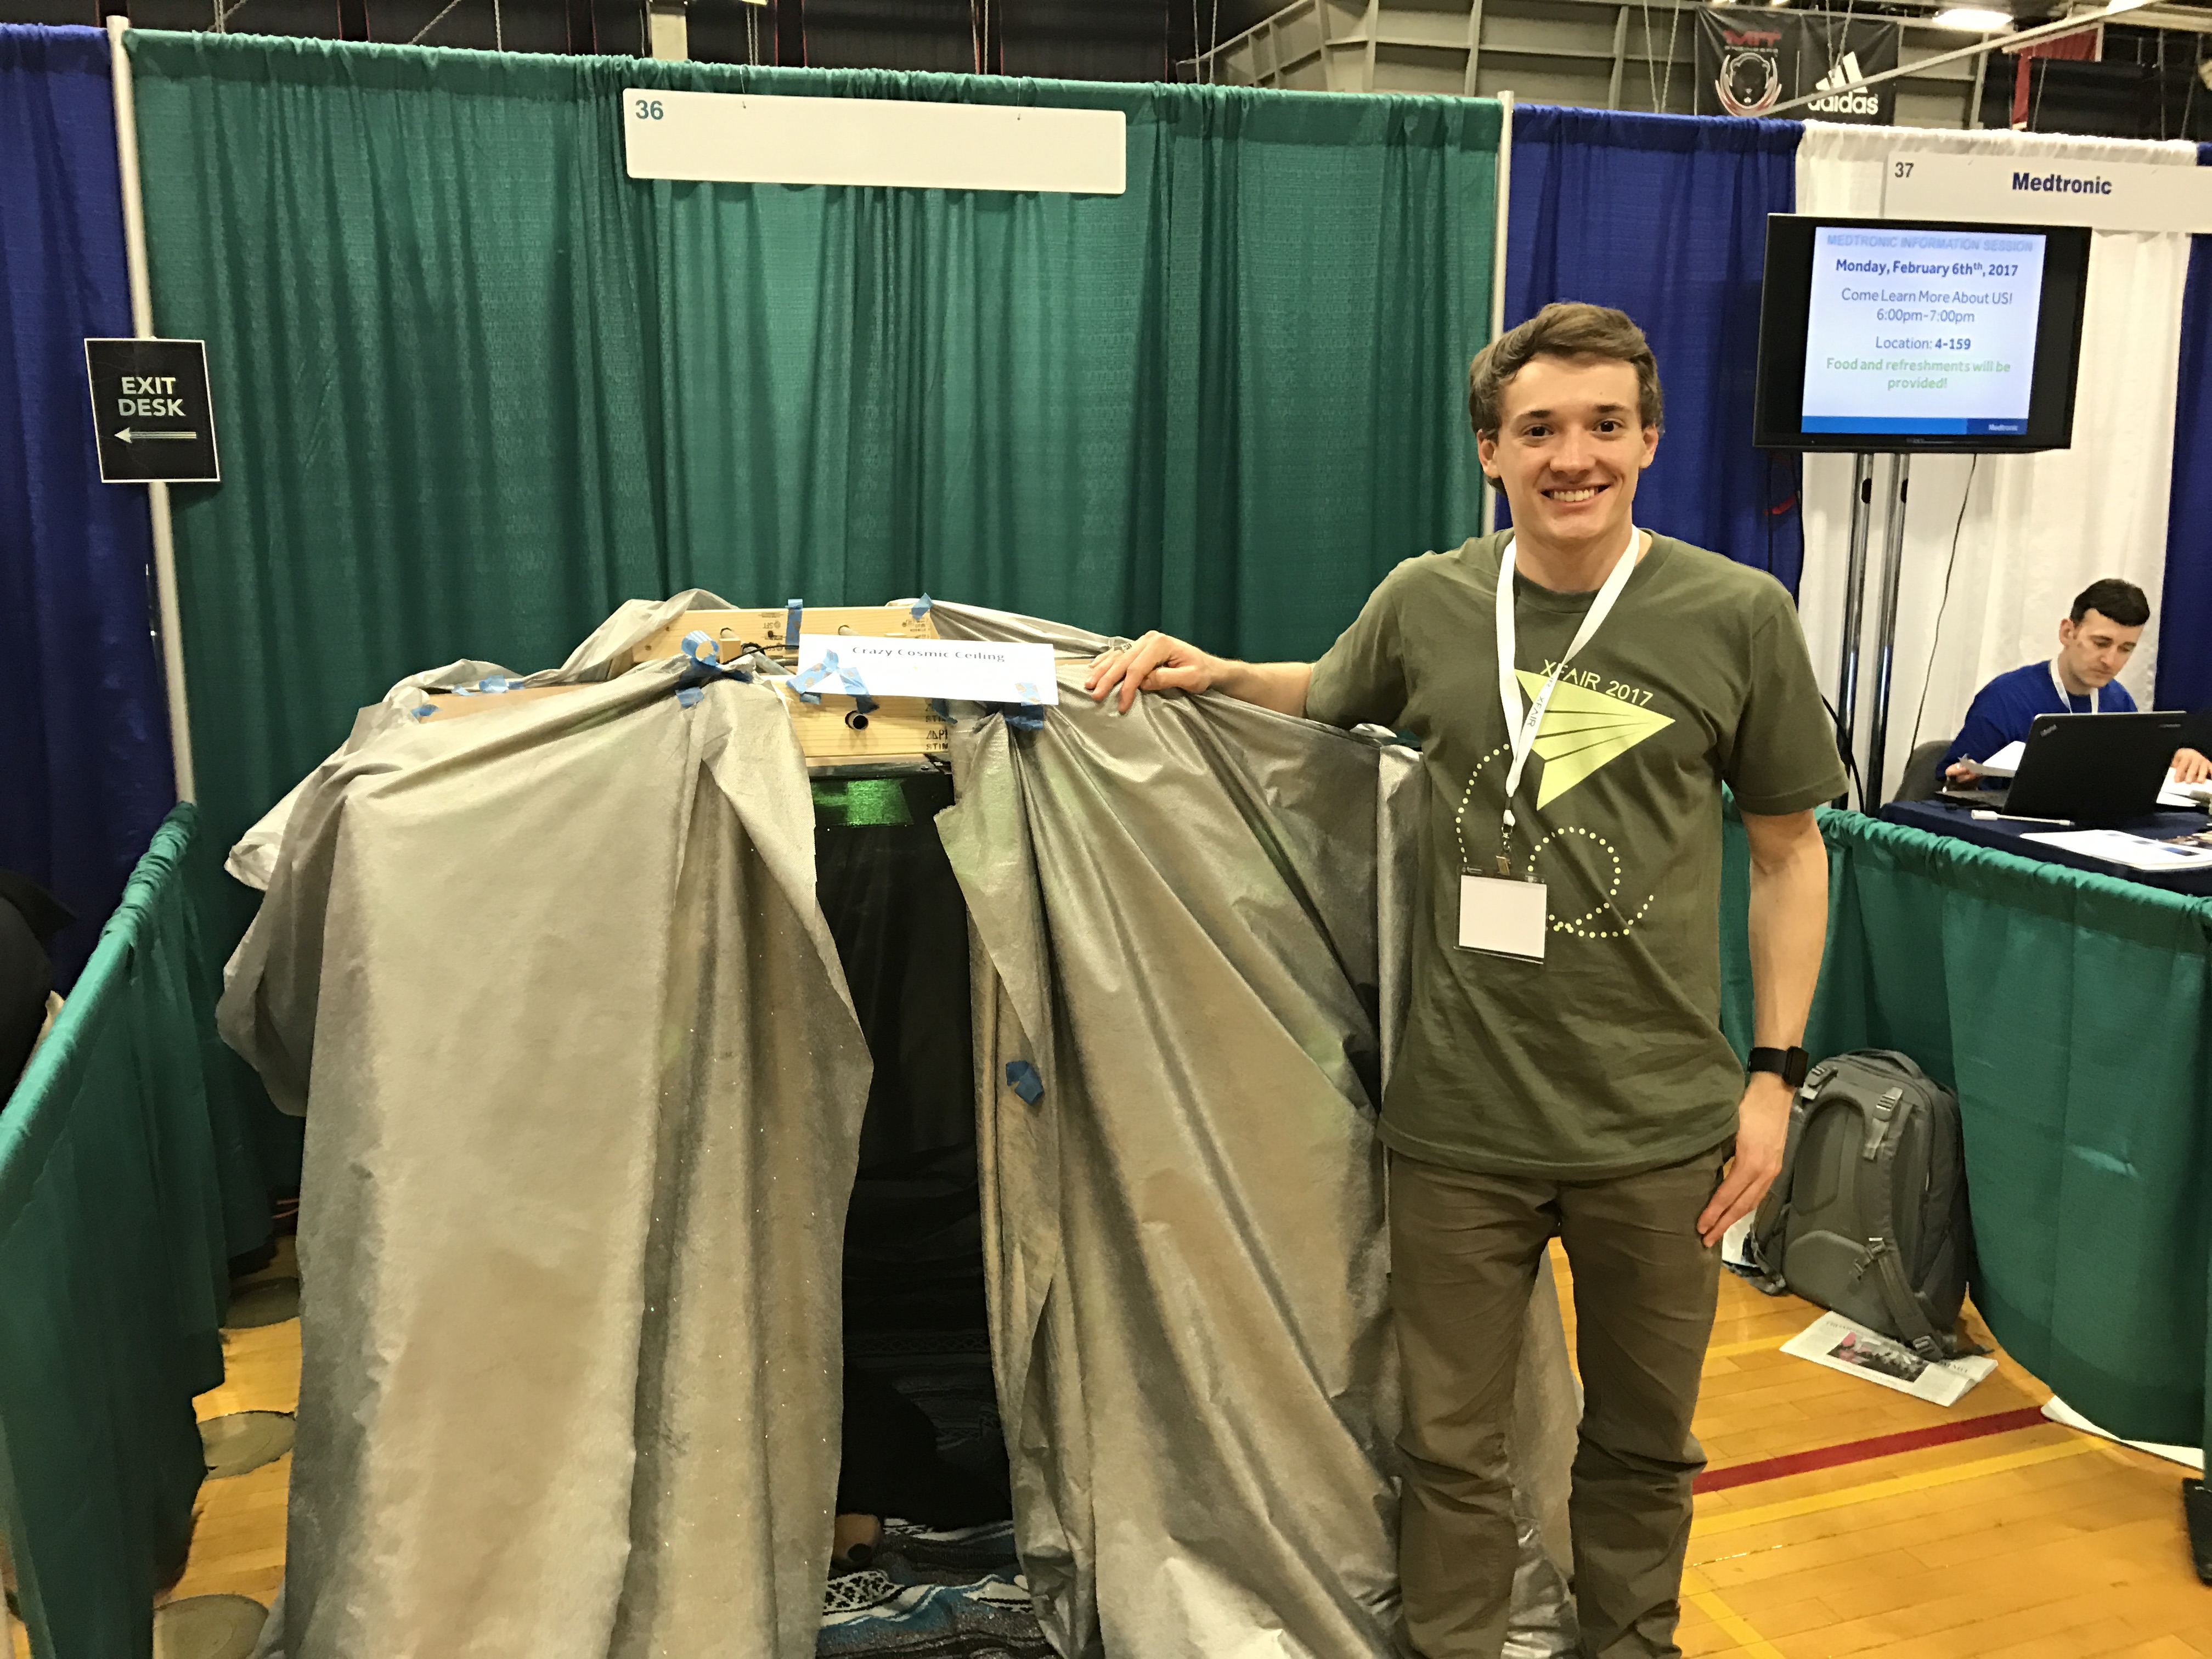
Demoing the ceiling was a lot of fun. I made a tent and invited people to go inside and lay down to watch the stars. Some people were wearing suits because the xfair is also a career fair. I found it amusing to get people wearing suits to go inside a tent with a fake bear rug inside.

All in all this project went super well and I was really satisfied with the result. The star ceiling still lives in my dorm room at MIT though which means I’ll have to make another one someday. I think the only improvement I could make to a project like this would be using more, lower power LEDs connected to fewer fibers each. This would enable me to make all the basic twinkle like visualizations I made with this ceiling but with additional flexibility to make some cooler more spatially dynamic patterns.